Built-In Library: The least "Cow Dog" of Cow Dog Projects

A couple of years ago, my Father-in-law Dave mentioned that he wanted to have a built in library made for his massive book collection. Dave is an avid reader and has over the years amassed a ton of books. They’re littered all over a small corner of their house, occupying almost every conceivable space imaginable, sucking the light out of the room and even blocking windows. He passed this sketch over to me.

Dave’s hand drawn built-in library sketch.

Now being that I live in Florida and Dave lives in Iowa and we were just in town for the holidays, I did find it kind of interesting that he he had an “idea” and then produced a very specific and highly measured drawing of this library unit for his living room.

Flash forward to 2023, our daughter was just born in October, and shortly thereafter I had the idea that we could drive to Iowa and spend a few weeks in my wife’s hometown. It would give Rowan the opportunity to spend time with her Mom’s side of the family, be a much needed break while the both of us were on maternity/paternity leave, and give me an opportunity to do this build for Dave. Also, every time I mentioned taking on a new commission for anyone else for the past couple of years, my wife would mention this project for her Dad, so there was definitely the benefit of scratching it off the “honey-do” list.

The route from Fort Lauderdale to Burlington, Iowa.

The idea was this: I’d prep all the material in South Florida. I have a lumberyard here that has high quality plywood available and at a fairly reasonable cost (it’s still expensive). I can zip everything down to size, drive it all up, and then assemble and install on site. Easy enough right?

3D Model of the built-in library constructed in Shapr3D.

Well what that ignored was… well… everything. Turns out, choosing to take on a project like this about a month before it happening, with a newborn was not my smartest move. Only being able to get anywhere from one to three hours at a time to work was very difficult in terms of getting meaningful progress here at home. Let’s do some simple math here. If I had two hours to work, I’d spend thirty minutes typically getting setup. That’s rolling all my carts out of the garage to have usable work space, getting out whatever tools I’d need, and making sure my layout was correct for whatever task was on tap for that session. Then, before closing up shop that day, I’d spend thirty minutes cleaning up. That means, a two hour shop session turns into one hour pretty quick… and god forbid if mistakes were made, and they almost always were.

Using a 3D printed router base hooked into a tracksaw track to route a dado in plywood.

However, the unsung hero on the planning side of this project was something new to me. I’ve never messed around with digital/3d fabrication. SketchUp has always been very difficult for me to use and not particularly intuitive. Things like Fusion360 were just too rich for my blood. The idea of having to take a course to be able to even use a certain software just didn’t really rub me the right way. However, a friend of mine, Caleb Rogers, who builds a ton of tansu and butsudan, turned me on to Shapr3d. After him telling me how intuitive it was to use and to create a 2d sketch and then extrude it into a 3d model, I was very intrigued. Furthermore, there’s a fair bit of YouTube content out there on it. I highly suggest checking out Bevelish Creations’ videos. He does a few walk through design tutorials and I found that to be very helpful in the design process.

Before dealing with the frustrations of minimal shop time, I spent a fair bit of time designing this in Shapr3d and was able to send the models to Dave in Iowa and get approvals on the design. Flash forward to working on the project physically in the shop, I was able to take all the components and lay them out onto modeled sheets of plywood to be able to visually grasp my material needs. In the end, this project totaled out to nine sheets of 4x8’ plywood. I was able to get some beautiful rift sawn white oak veneered plywood which rang in a bit over $2000.

So I chopped it all up, now what? Well, now I had to load it into the back of the truck and drive to Iowa. This turned out to be a more stressful endeavor than I imagined. For starters, the day we left it was raining as though it was the start of the great flood. I was struggling to keep the plywood dry, and since someone always had to be watching the baby, it was next level difficult to try and load all our stuff in the truck. Bassinet, stroller, luggage, and not to mention we were bringing the cow dogs with us too so all their accoutrements as well. I also had to bring tools, and since I was driving fifteen hundred miles, I overpacked in that regard because I didn’t want to be missing anything upon arrival. Spoiler alert: I forgot a sander.

Driving through St. Louis, Missouri

With stops in St. Augustine, Chattanooga, and St. Louis, we arrived in Burlington, Iowa, exhausted and candidly a bit stinky.

Loading my Chevrolet Silverado 1500 in Fort Lauderdale, Florida for the road trip.

I immediately got to work sanding and staining everything. This was something I really wish I had done at home prior to leaving. Something not shown in the video is me taking a bunch of solid white oak and re-sawing it on the bandsaw to make my own trim. A couple mistakes were made in this regard. First, the time elapsed between the re-saw and the trip did not allow for a gentle enough humidity change. The wood’s moisture content was so greatly altered between hot and humid South Florida to freezing temperature Iowa that the wood became extremely brittle and had a ton of warp and not a lot of elasticity and play to it to be useful for trim. Furthermore, I didn’t know that Menard’s had an excellent selection of finish ready trim. There was a ton of affordable oak options that were milled with exceptional quality in a variety of different widths that made the need to bring my own trim obsolete. Therefore, had I used that time, milling in inclement South Florida weather before the trip, to sand and stain my components prior to leaving, or at the very least sand everything, I would have been on a much better schedule.

Speaking of stain, somehow when working with a client, there’s almost always something that doesn’t get communicated. Stain was something that was not communicated. I’d spent a lot of time in their home and almost all of their furniture is plain old white oak with a fairly standard semi-gloss finish on it. I presumed based on that, that the unit would also be the same. In fact, when I sent the 3d renderings to my father-in-law, they were all in, you guessed it, finished white oak. However, upon arrival it was brought to my attention that they wanted a “dark stain”, essentially walnut. I stood in the living room a little slack jawed, realizing that between the application and drying time of most stains in colder climates, I was instantly set back at least a day and a half. I also haven’t stained anything in a few years, something I’ve eliminated from my client work because of my own moral objection to staining wood to look like other wood.

Watco’s Danish Oil in Black Walnut: the exclusive stain of this project.

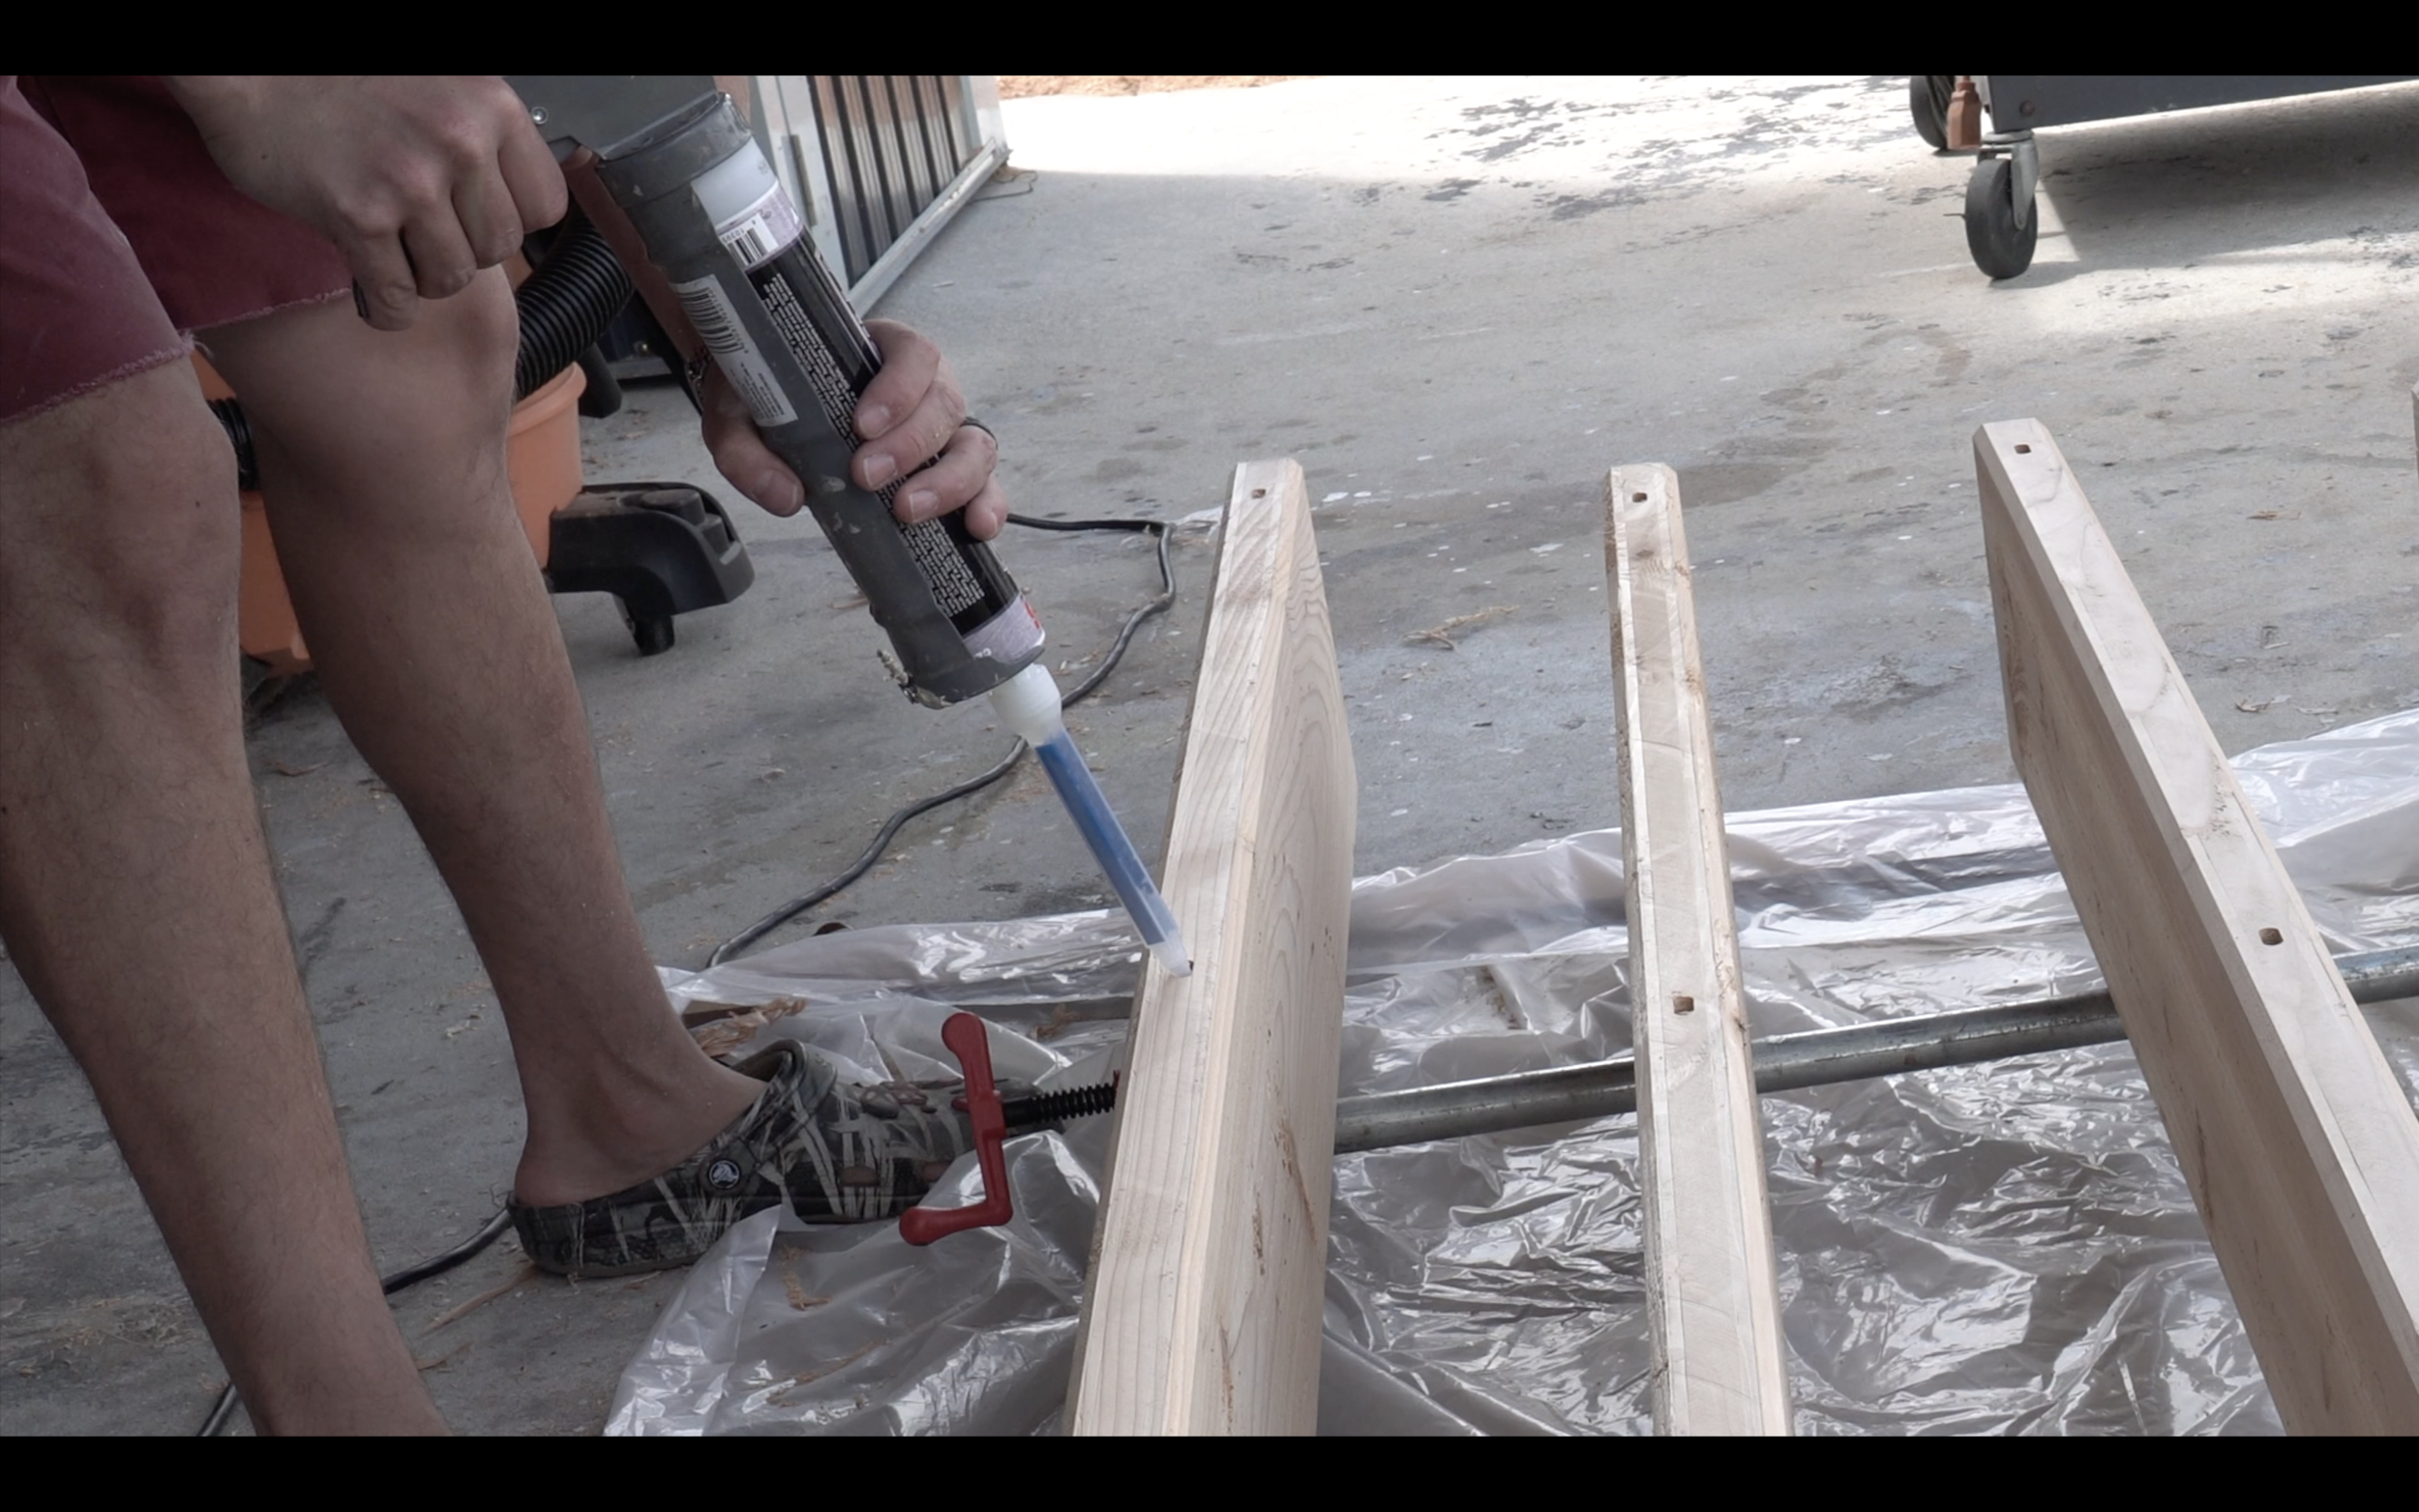
I went with Danish Oil for a number of reasons. One, it cures quickly, but more so, it stain needed to be touched up, I could do it with little issue. Danish Oil, because it doesn’t have a glossy finish and leaves that hand rubbed appearance, blends into itself very well. Therefore, at times, I could install components still tacky, and then back fill or fix problem areas with Danish Oil on the spot. As you watch the video, you might notice when I’m building the final doors that it looks like I’m building, staining, and installing, all within a couple of hours. You would in fact be correct. Using glues like quick and thick, along with a fast drying stain made this project all the more doable.

Fitting trim prior to scribing.

I should also mention that in cold climates, using FastCap Speed Tape to adhere edge banding is an awful idea. I was constantly having to go back and spot fix with super glue during the install process. I’m fully expecting when we’re back in the summer or perhaps this winter, I’ll have to do the same again. Conversely, just using the iron for edge banding worked exceptionally well. The glue adhered easily and I was able to use the banding trimmer easily and sand the corners in to blend everything well. Sometimes, the simplest answer is the correct one.

Trimming edge banding with a dual sided edge banding trimmer.

Scribing to the ceiling, floor, and walls was the detail that really made this build stand out from what it could have been. As with all my projects, I really want to push myself. I don’t want to be stagnant as a craftsman. I want to get better with every single build and scribing was something I’d never done in this large of an application. A good friend, Anthony Isoldi, works for BUILT in Tampa, a high end furniture and cabinetry firm. He’s regularly doing on site scribing in very high end properties with work that’s been built to the highest of standards, so after a few Facetime calls, I felt confident enough to do this (sarcasm).

Scribing white oak trim to the ceiling: dry fit before nailing.

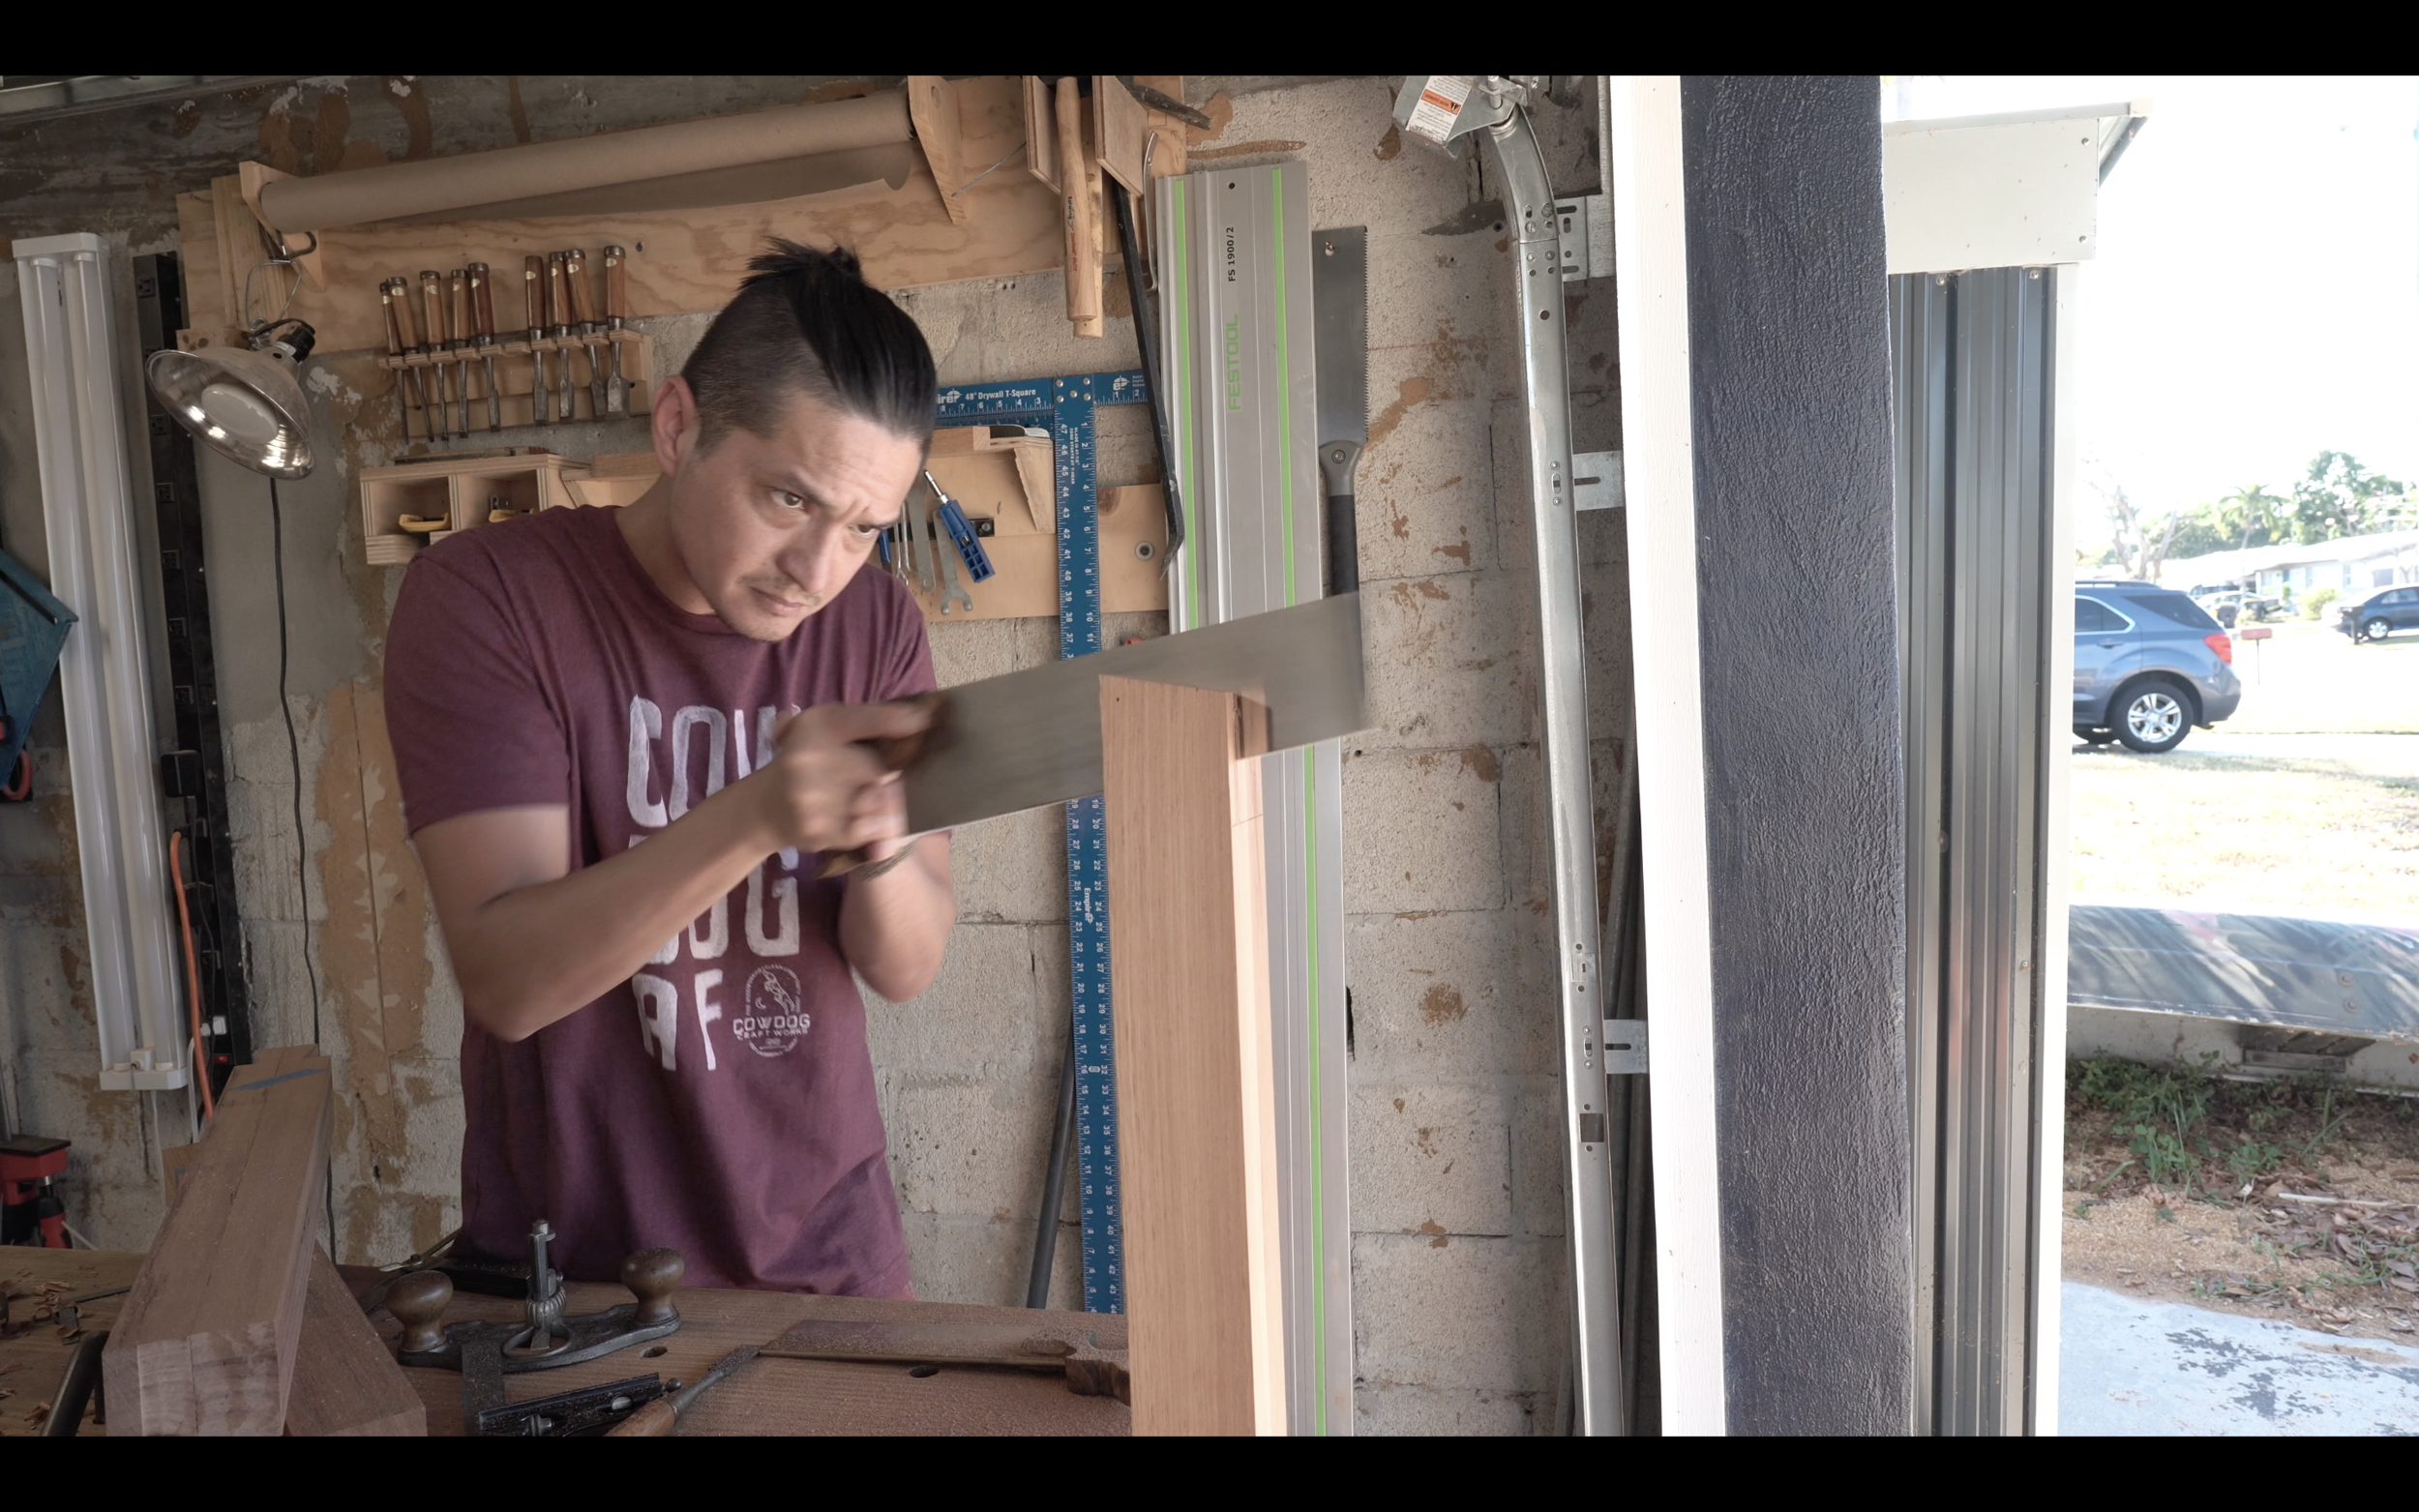
What I can say is, a small benchtop bandsaw would have been far easier at following the insane curvature of this walls in this old house. Based on what I could deduce from the shape of the gaps between the cabinet and the wall, the entire “square” of the room was skewed slightly to the left. Ie. On the top left the gap was wide and the bottom right it was wide as well. It was essentially a parallelogram. Instead I used a track saw, which Anthony said he uses all the time at work. However, it was a bit difficult to use since the components were thin and extremely long. The tip I did love was back beveling everything that was going to contact the surface to be scribed to. That way, either with a block plane or a sander, you’re removing a minimal amount of material to get to the perfect fit.

The finished built-in library.

This build challenged me in a number of ways, most of all challenging my persistence and patience. We had to extend our trip another five days just so that I could finish and at one point, even after the extension, I was trying to find out how I could come back to be able to finish things that I didn’t get done. Luckily, I did finish though and it came out swimmingly. Not only is my father-in-law absolutely psyched but his wife is equally as happy with how everything turned out as well. Happy wife, happy life, as they say.

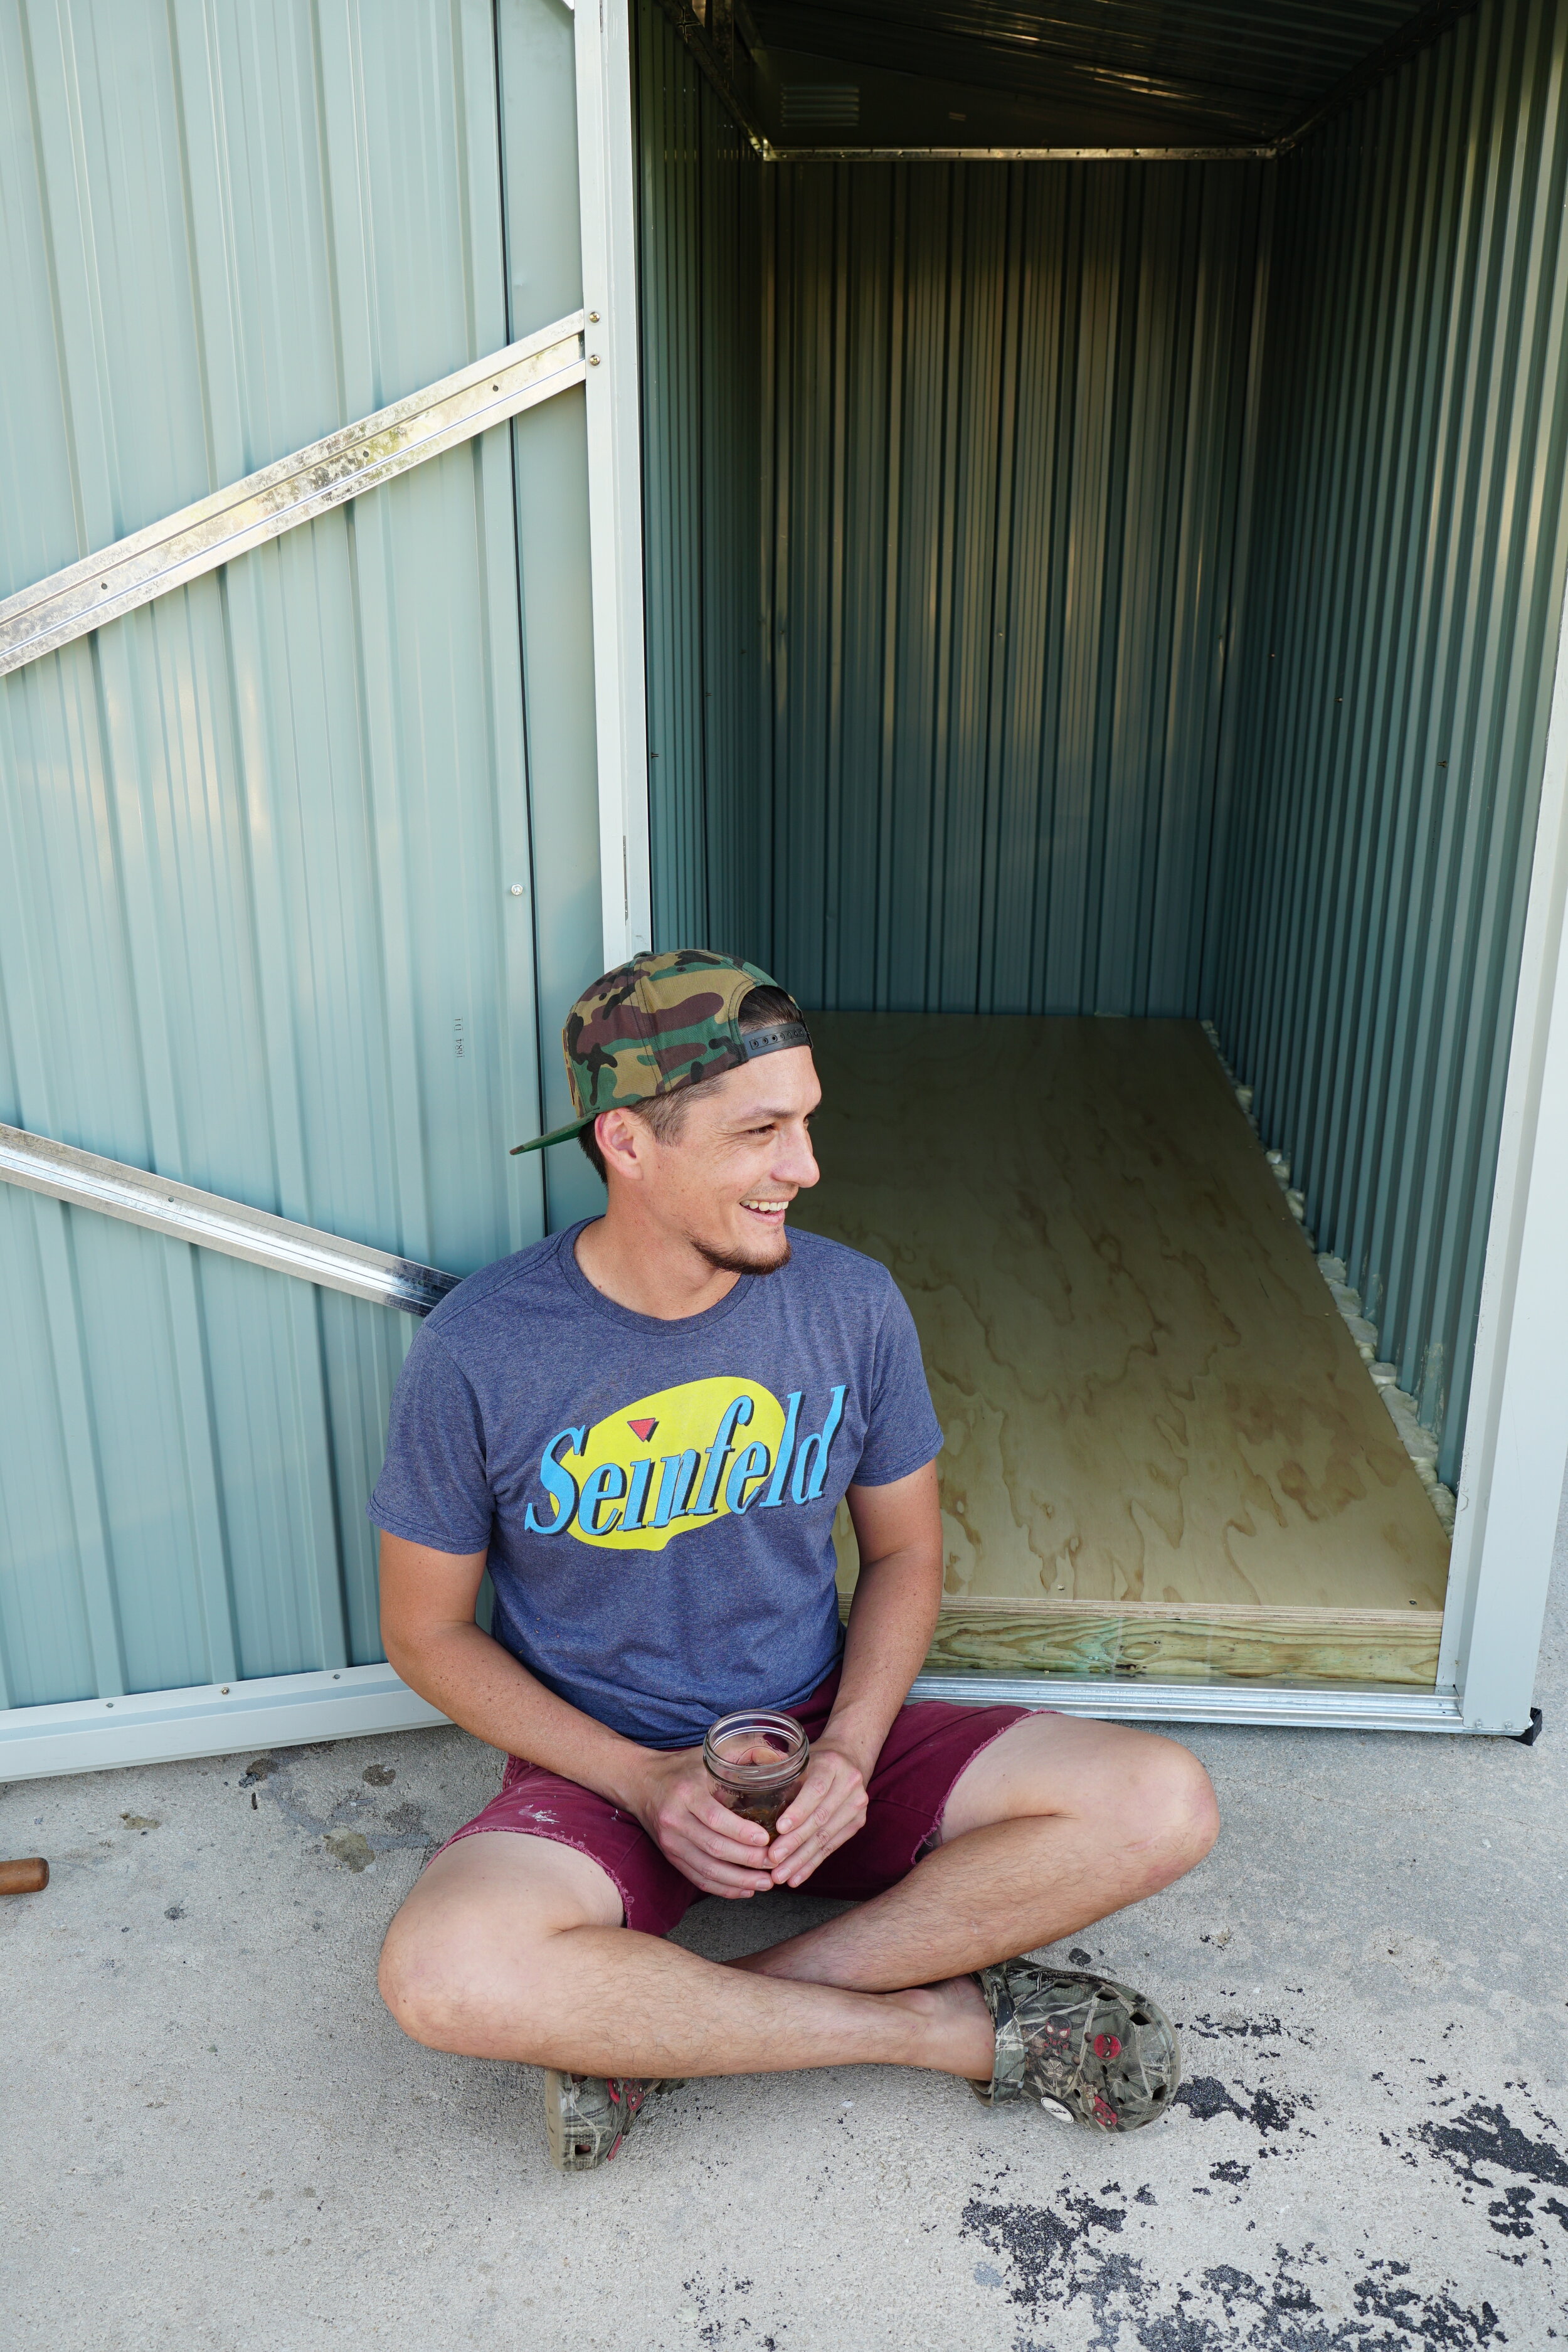
Dave and I about thirty minutes after I installed the cabinet doors, the final step.

Head over to the YouTube channel and check out the video. Hopefully you’ll learn some tricks but also be connected to my crippling anxiety as I race to try and finish.

My Blog Hiatus and the Japanese Hand Plane in Depth

I was on a podcast recently and the host indicated that I hadn’t posted a blog entry on my website in over a year. It was quite the wake up call at how much I’ve been neglecting this side of my business, something that I really should be paying far more attention to. This should be the hub of my work and my brand, and much like dental floss for the vast majority of the world’s population, it’s usefulness, benefit, and practice was ignored.

However, a lot has gone on since I was last on here. Shortly after promising to re-vamp my blog posting last year, we found out that my wife was pregnant. I closed out all commission work and eliminated the back log in honey-do projects as well as custom work I had outstanding. Amidst all that, I was still able to put out a few YouTube videos last year and in October, our baby girl Rowan was born. She’s been a fun and beautiful addition to our family.

After releasing a video early this year about a built-in library I did for my father-in-law, I had decided to sack up and finally create a video on the Japanese hand plane: kanna. Kanna simply means plane in Japanese and being able to provide an instructive, step-by-step tutorial on this was not only intimidating, but really for me, signified a coming full circle and an achievement in my Japanese tool journey.

Let me tell you why…

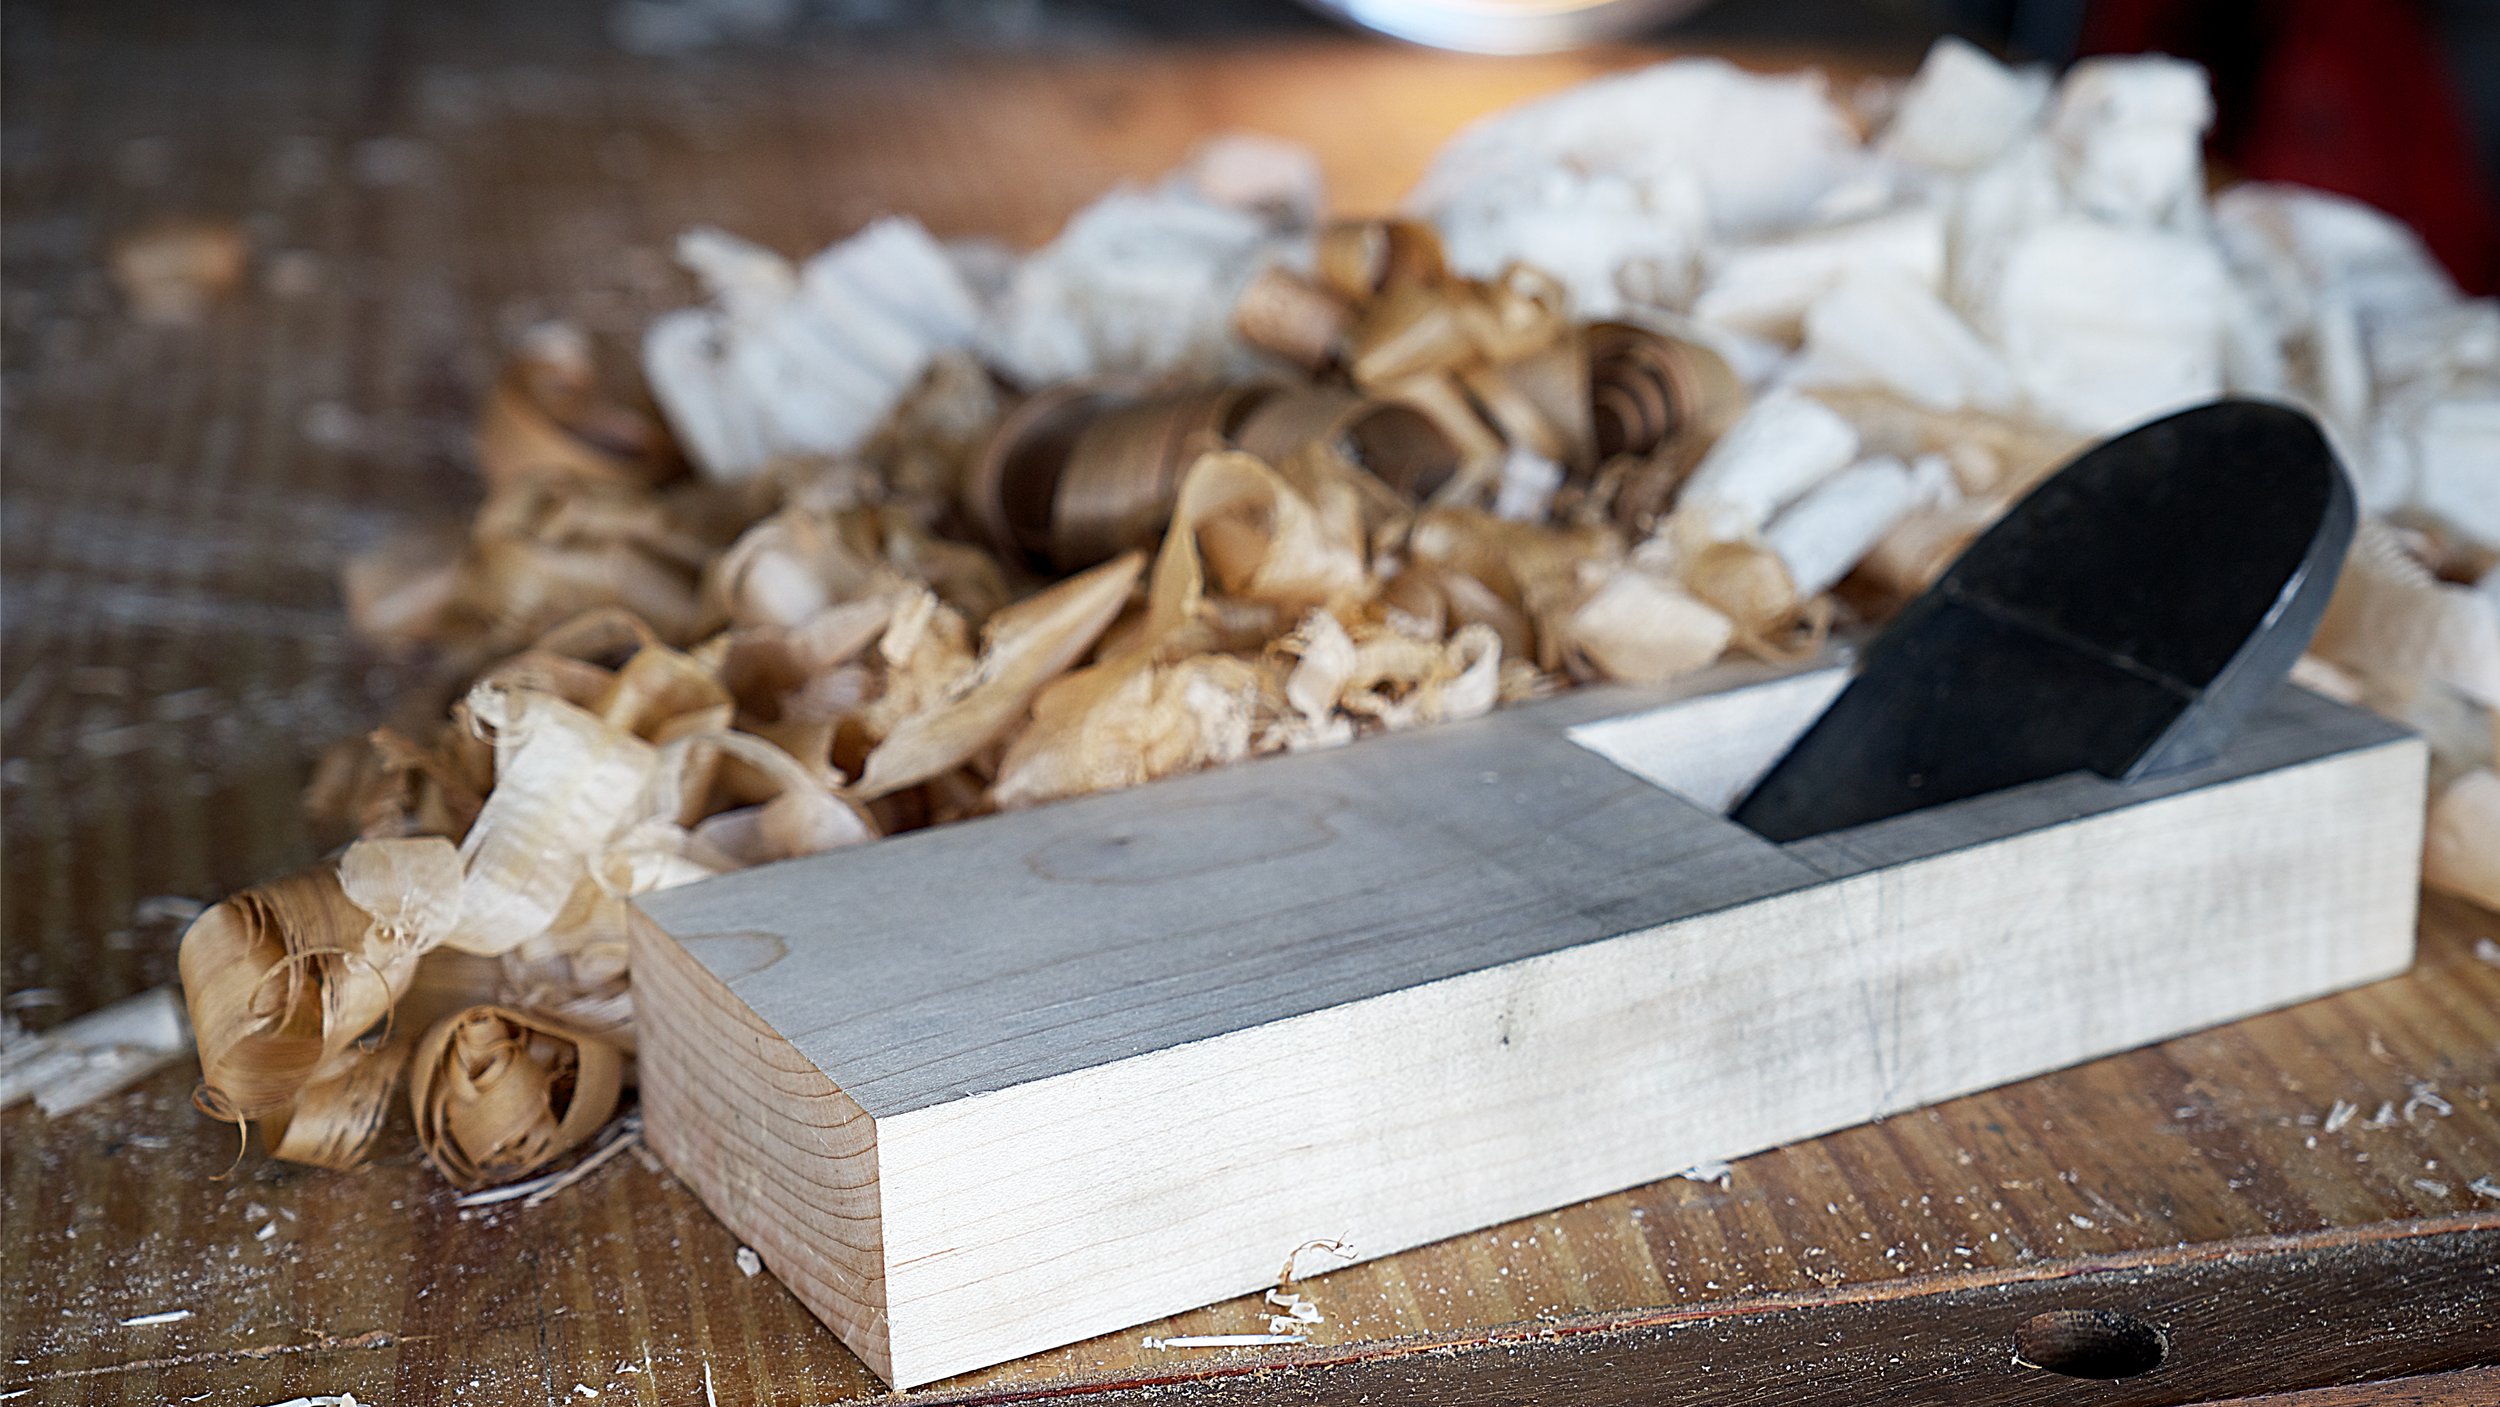
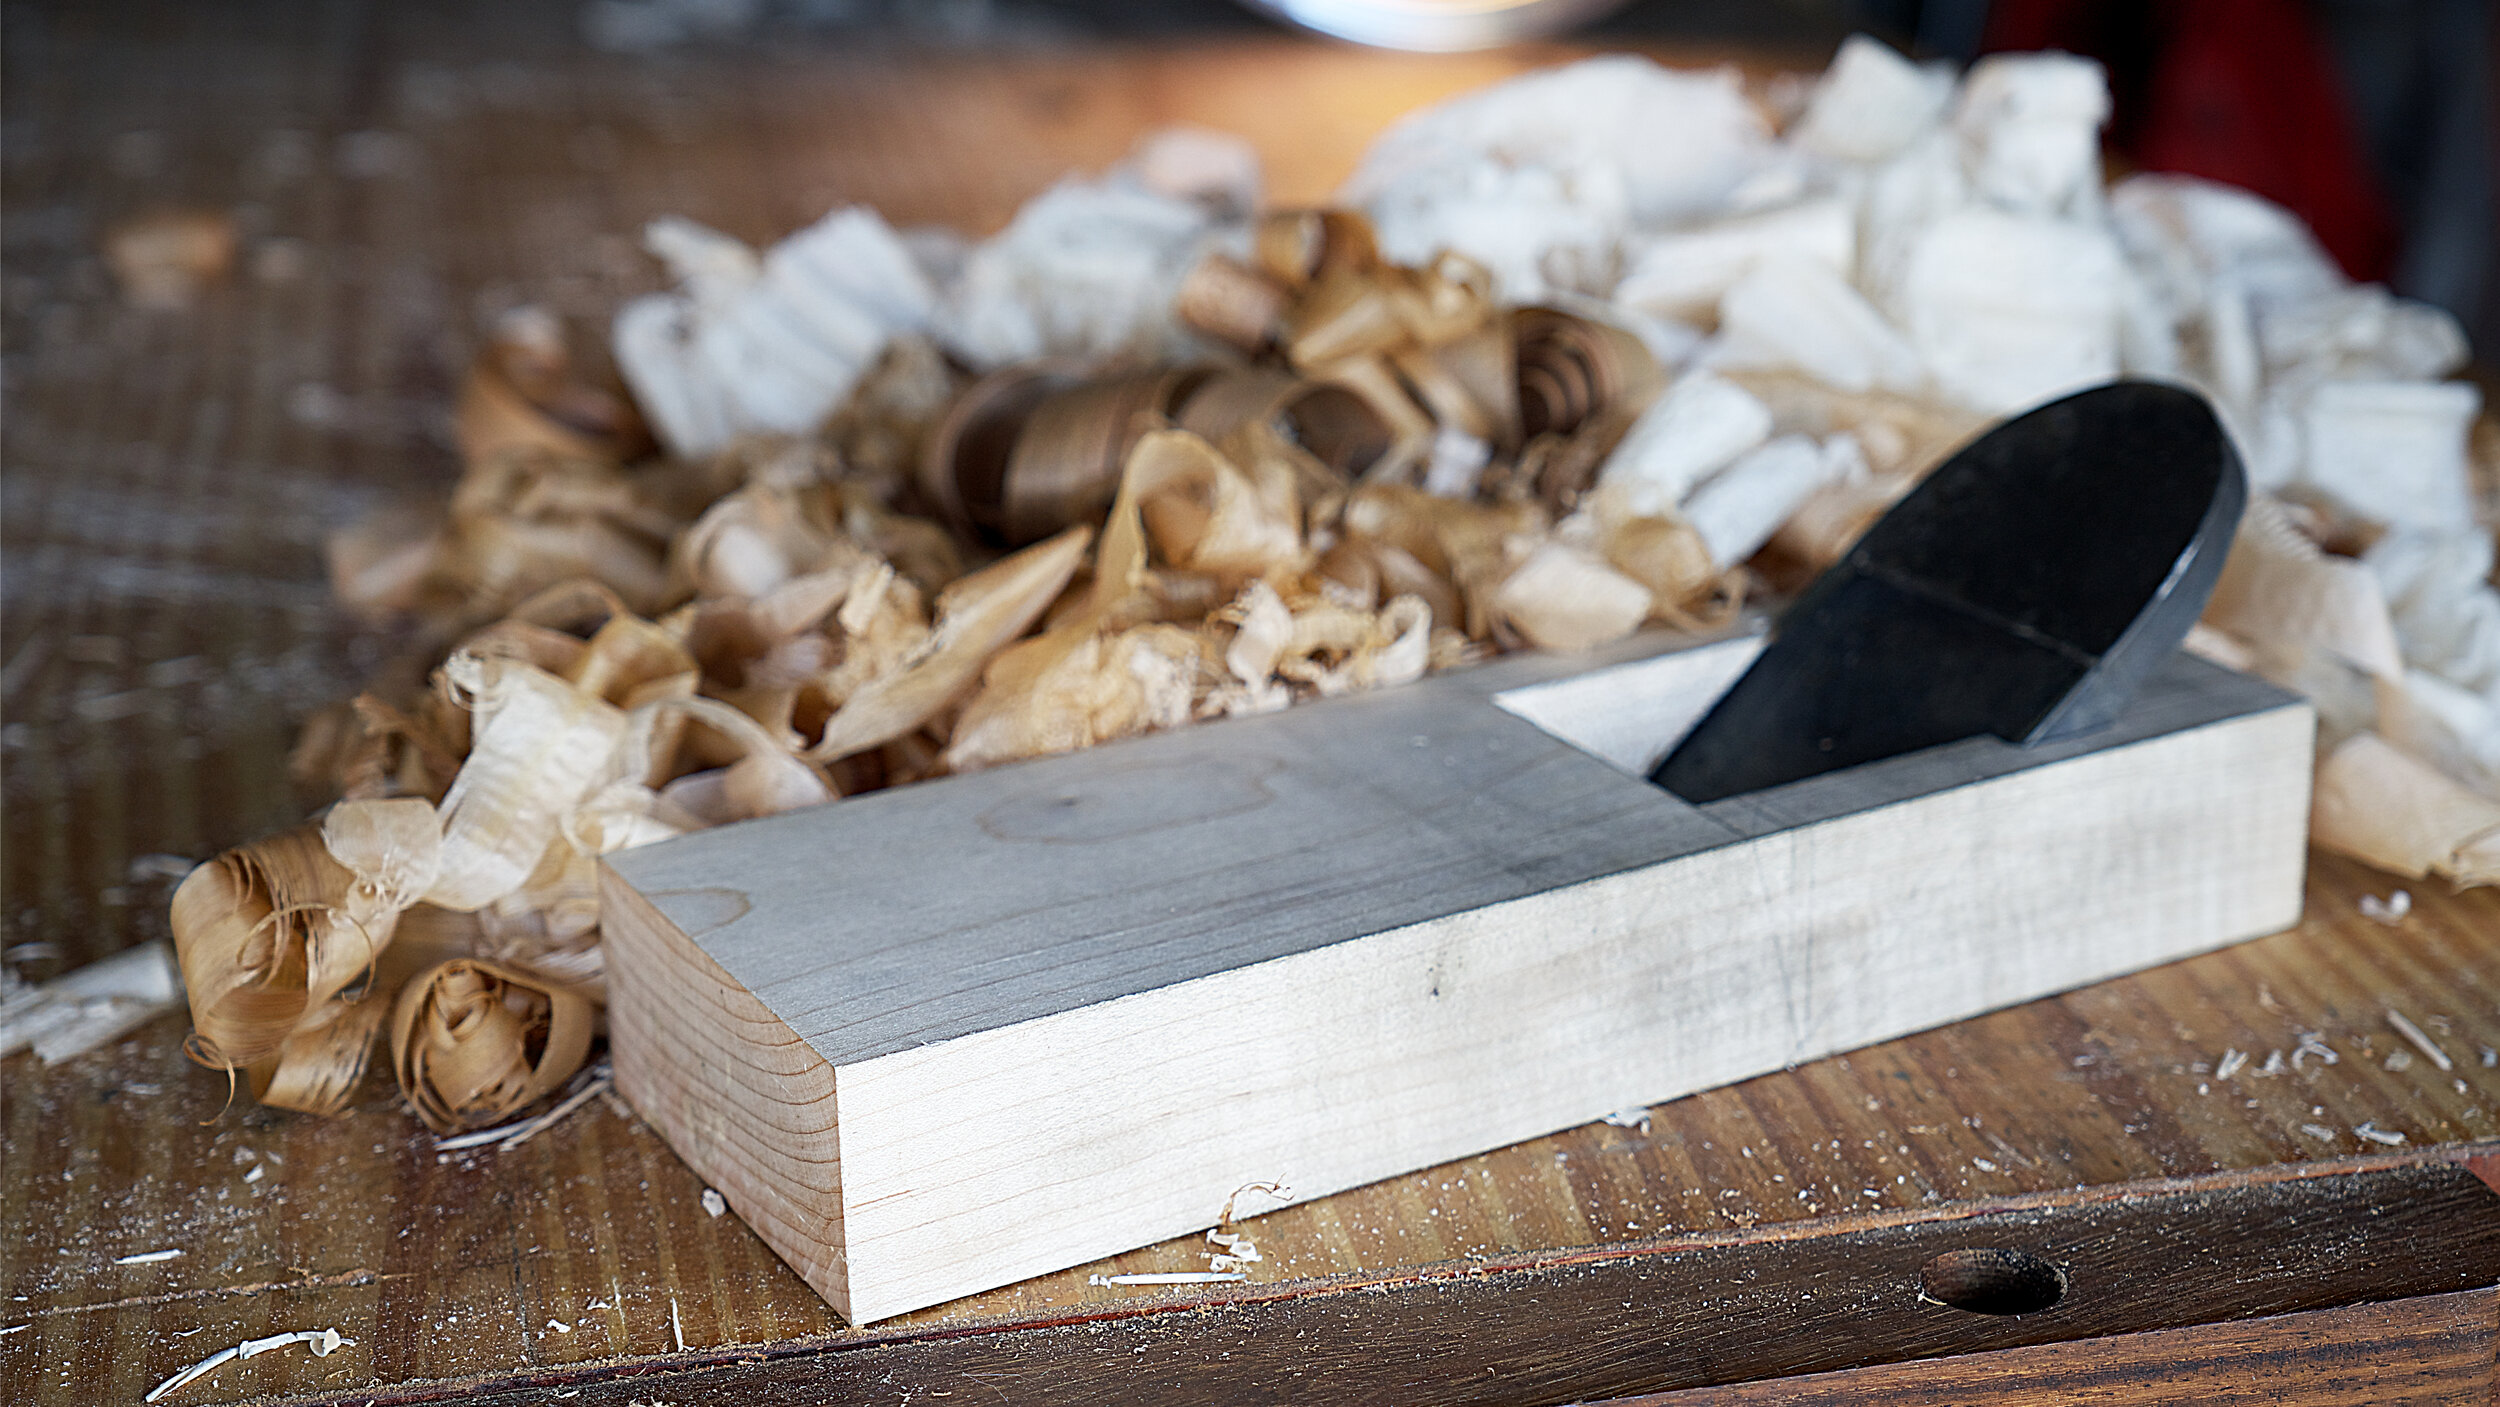
Nagadai Kanna in American white oak.

I first got into Japanese tools during the pandemic. While I had some Japanese chisels, it was virtual schooling through the Florida School of Woodwork, classes led by Dylan Iwakuni, that taught me the concepts of center line layout, order of operations in joinery, and gave me the basic skills to tackle any joint regardless of complication. Sure there’s an element of speed and skill that needed to continue to be fostered, but the very basic foundations were laid and an addiction began to take hold.

After seeing Dylan effortlessly paring away and creating glossy smooth end grain shoulders, I needed to know where he got his chisel from. To my surprise, he said that he got his chisel from an American blacksmith and carpenter, Jim Blauvelt. I immediately reached out to Jim and purchased a paring chisel, that he also called a dai makers slick. He had to still forge a ferrule for the chisel, so it would take some time to get to me.

Well, I was patient, and indeed, it did take some time. Somewhere around six to eight months after I ordered and paid for the chisel, he asked for my address so he could ship it out to me. Because of my patience, he offered to send me out a plane blade. I’d never used a Japanese plane before and other than watching viral Kezurokai videos from Japan, had never really even seen one in use. I ordered Toshio Odate’s book on Japanese Woodworking tools, got to studying, and the box arrived shortly thereafter.

Admittedly, I didn’t study that hard because once I got the handle set up on the chisel, I got to cracking on making a dai for this blade. I’d never tapped out a blade before, so I opted to flatten the back on float glass and pressure sensitive adhesive (PSA) lapping film. I’d never sharpened without a jig before, so I sharpened this blade until my finger pads wore through from touching the stones. I used a block of soft maple that was given to me by a local friend and I hacked this thing apart with mortising chisels until I had the basics of a dai. And you know what? I skipped the part in Odate about tuning the bottom, and I was pulling shavings with it in western red cedar.

Uradashi or “tapping out”. Displacing the laminated iron to alter the shape of the hard steel hagane beneath.

The plane itself, while haphazardly made, and barely functional, still kind of worked. And the surface it left was incredible, even at my complete lack of skill level.
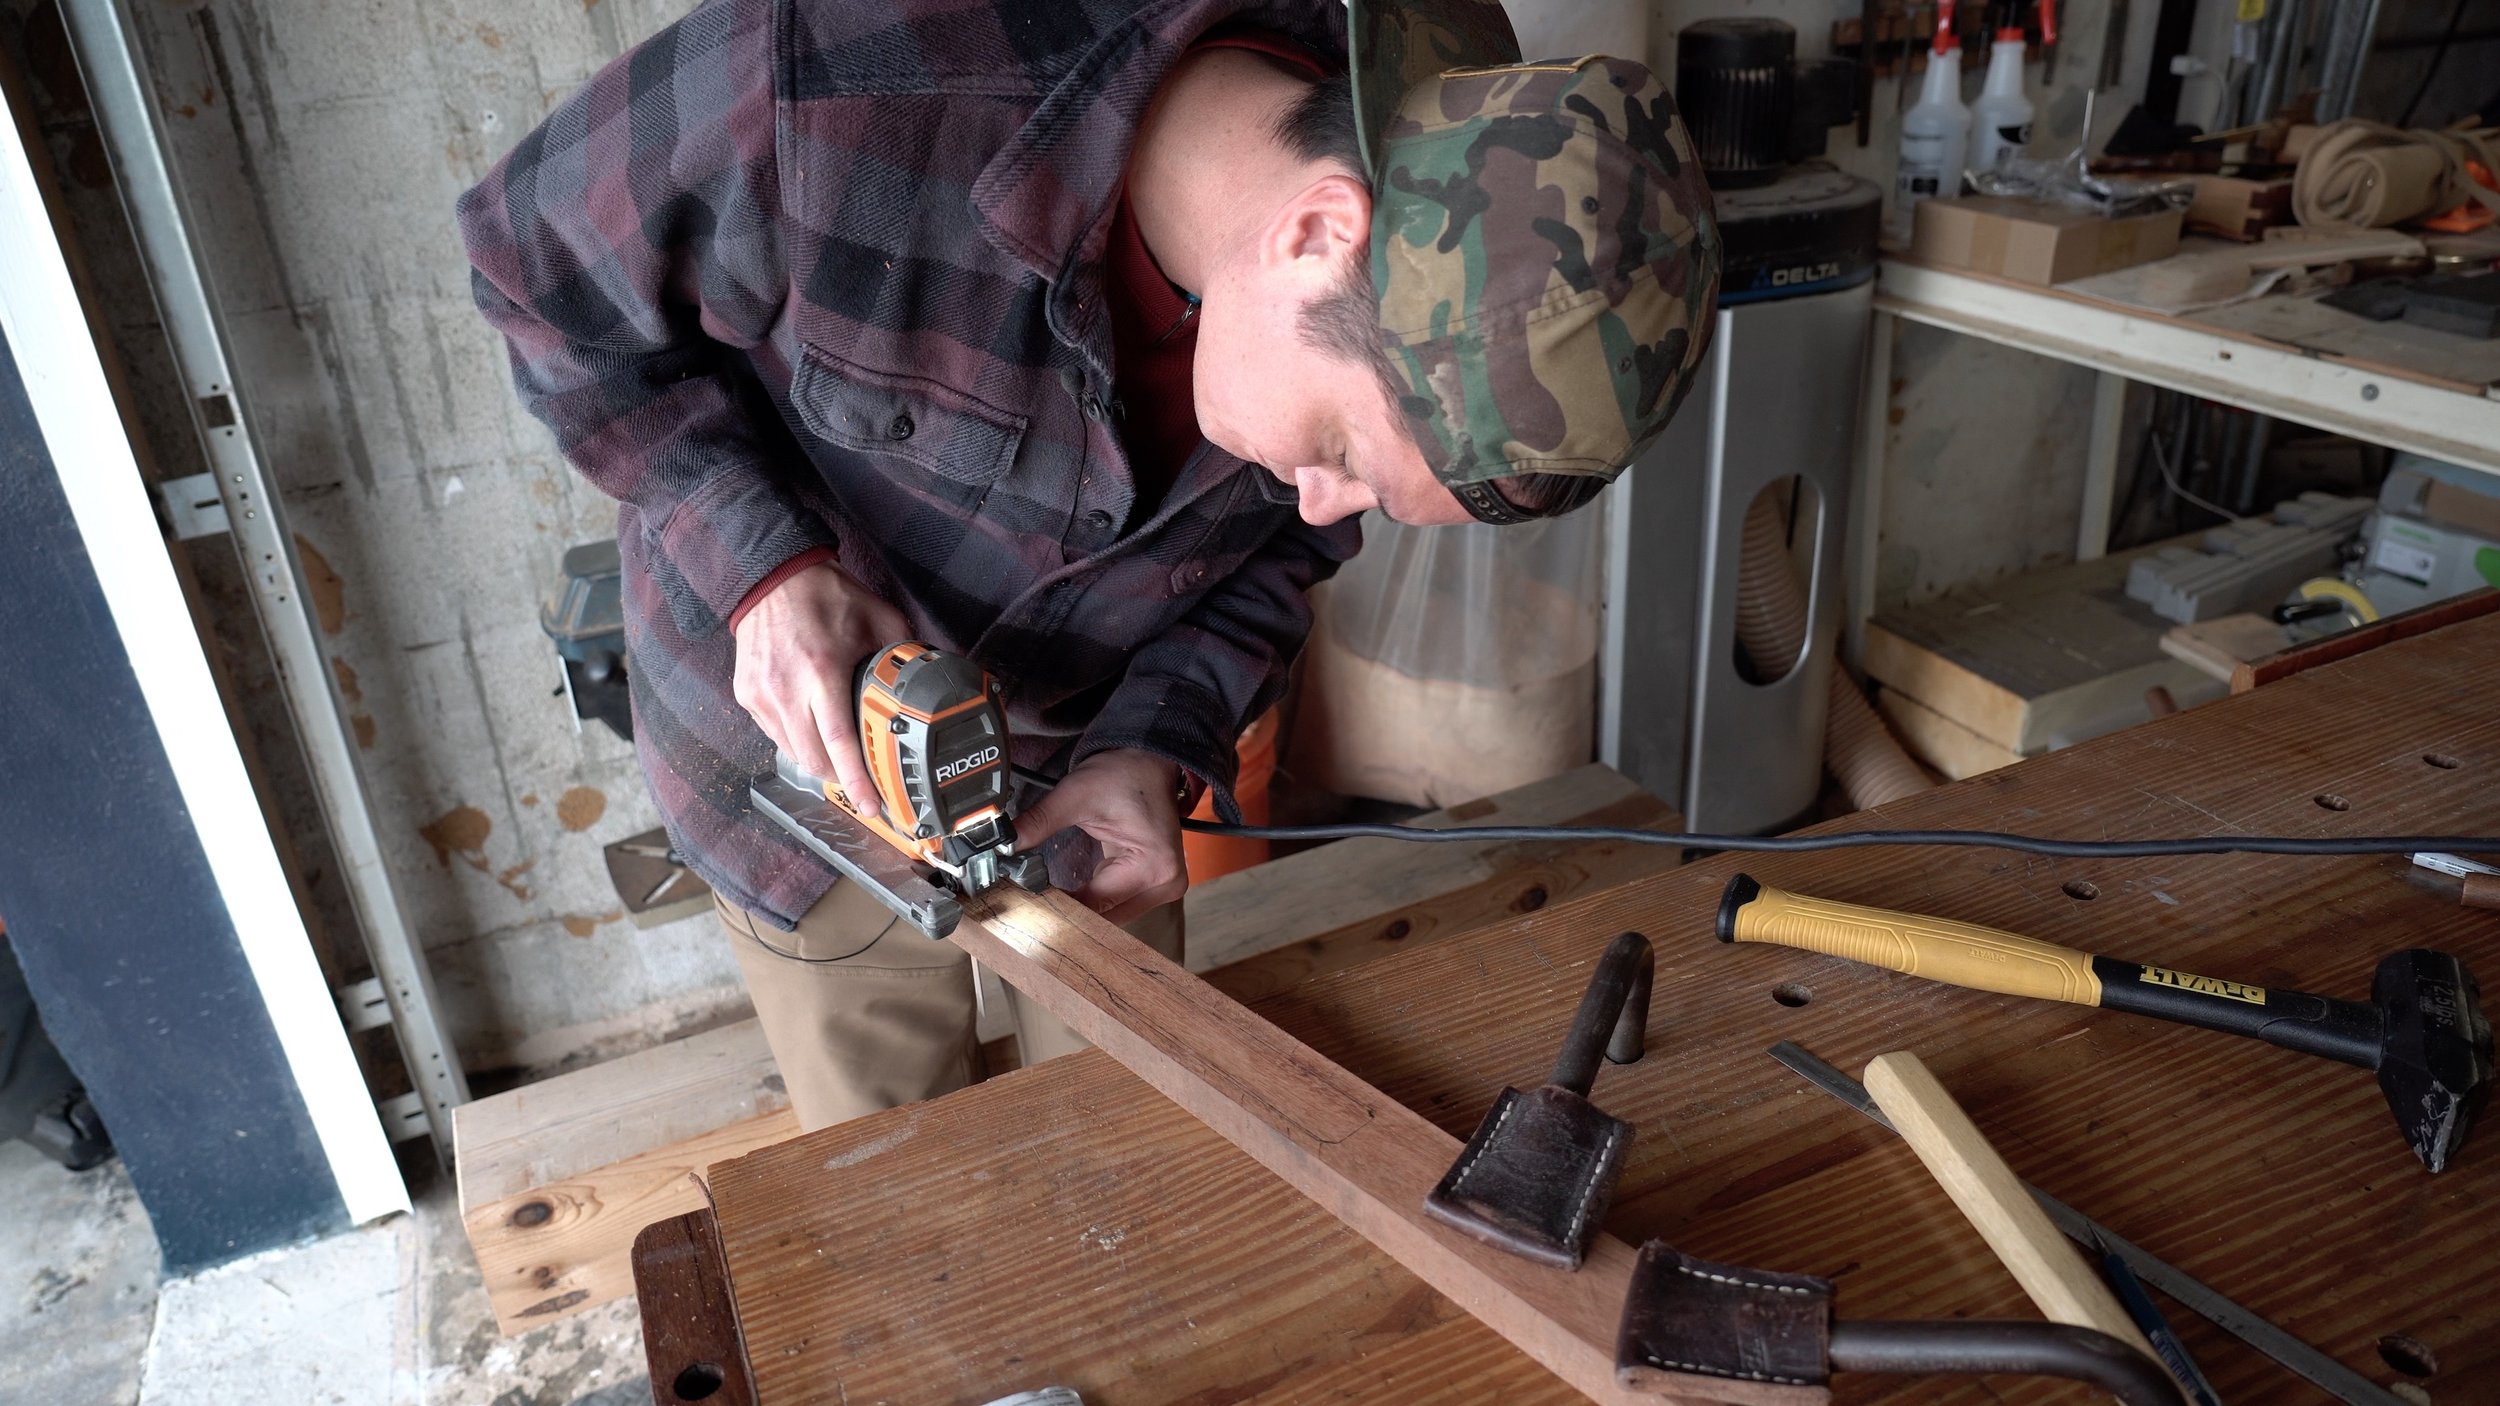
That sparked a relationship with a tool dealer who gets the best treasures from Japan. I also purchased a V1 blade from Andrew Ren of which I also cut a dai for, and did much more skillfully. I purchased and set up dai through Suzuki Tool. I started performing uradashi on my blades. I got quality water stones and learned the importance of flatness in my stones. And then, with a number of basic reps took an in-person class at the Florida School of Woodwork with Andrew Hunter. Andrew’s class was excellent for someone like me trying to level up from mediocre-poor to passable. I continued to take more Zoom classes through Kez-USA, learning from David Wood and continued to improve my own skill set through practice and repetition. I’ve now read Dale Brotherton’s book, “Sharpening and the Japanese Hand Plane in Depth” at least a dozen times and I still learn something new every time I read it.

Using kanaban to check for blade flatness.

All of this culminated last year at the Maine Japanese Woodworking Festival. It was my first in person Japanese woodworking event. I sharpened and pulled shavings all weekend. I really did little else. I wanted to see if I could elevate what I was doing and although there was a planing competition on the schedule, I was unsure if I would compete. I watched Andrew Ren use his own V1 in an Osage Orange dai that he had cut pull what I could only deduce were probably 7-10 micron shavings with ease. I had the opportunity to hold his plane, look at his settings, and even take a couple pulls myself. Even using his own plane that he set up, I still found that my shaving quality wasn’t nearly as good as his just due to his skill set. Jude Noteboom who was also present gave me a lot of tips on Kezurokai style planing technique, the Kamijo footwork, and how to set up beams for planing.

I decided I’d at least try and qualify, so after taking a few shavings and having Andrew Ren measure them with the micrometer, he walked me over to another beam and asked me to take another shaving. I backed the setting out a little finer and pulled a shaving that was somewhere just north of 20 microns.

“Try softer pressure.” He said.

I looked at the translucent full length and full width shaving that was coming from the throat of my blade.

“That’s a good one.” He said.

The micrometer pinched down on the shaving.

“14 microns.” He smiled.

I grinned so hard my face almost cracked. Number one qualifier for the finals.

Checking the mating surfaces between the kanna blade and the uragane.

I didn’t win the whole thing, and that’s okay. My eyes were opened to what was possible and what I could possibly achieve through diligence, practice, and patience.

This video, at this point in my Japanese woodworking tool journey, is the culmination of all my education and experience. From someone who built a shit plane out of wood that doesn’t even grip the blade correctly, to someone who can regularly set up a plane with a minimum amount of screaming and cussing. This video, has been one of the most requested by my small but dedicated audience and I’m happy and proud to provide it.

The chatoyance of a kanna finish on mahogany.

Filming this video was not easy. I tried to talk through in real time a lot of the steps. For some reason I got hooked on the term “overcooked” and said it about four times in thirty seconds at one point. The work is time consuming, so certain sections have to be sped up to be able to show how long some of these processes take, but make it tolerable to watch. I used “thought bubbles” to try and convey certain ideas and concepts after the fact because the subject is so deep and so nuanced that I couldn’t accurately and succinctly convey things with spoken word alone. I recorded the entire section on the uragane (chip breaker) without audio on the first go around and had to go back and record an after the fact tutorial on it. In my opinion, that section is unfortunately the biggest failure of the video. However, there’s clear dedicated chapters so that the viewer can use this is a reference material later during set up and tuning and I believe that all the major components are there, especially if one is utilizing the books suggested in the closing comments of the video.

A 42 mm Yamamoto koganna with Swedish blue steel in mahogany.

Hope you like it. Let me know if it’s something you found helpful and if there’s other things you’d like to see on the channel moving forward.

New Year, New Me?

The first Monday of 2023… wow. What a whirlwind 2022 was. From teaching at WorkbenchCon to Maker Camp, collaborations with Bart Komar, Anne (of all Trades) Briggs, and Sam (DIYHuntress) Raimondi, it genuinely felt like I was on the road at least one weekend a month for the entirety of the year. Therefore, starting in November, I really took time to stay home, stay grounded, and start focusing on preparing my shop for 2023.

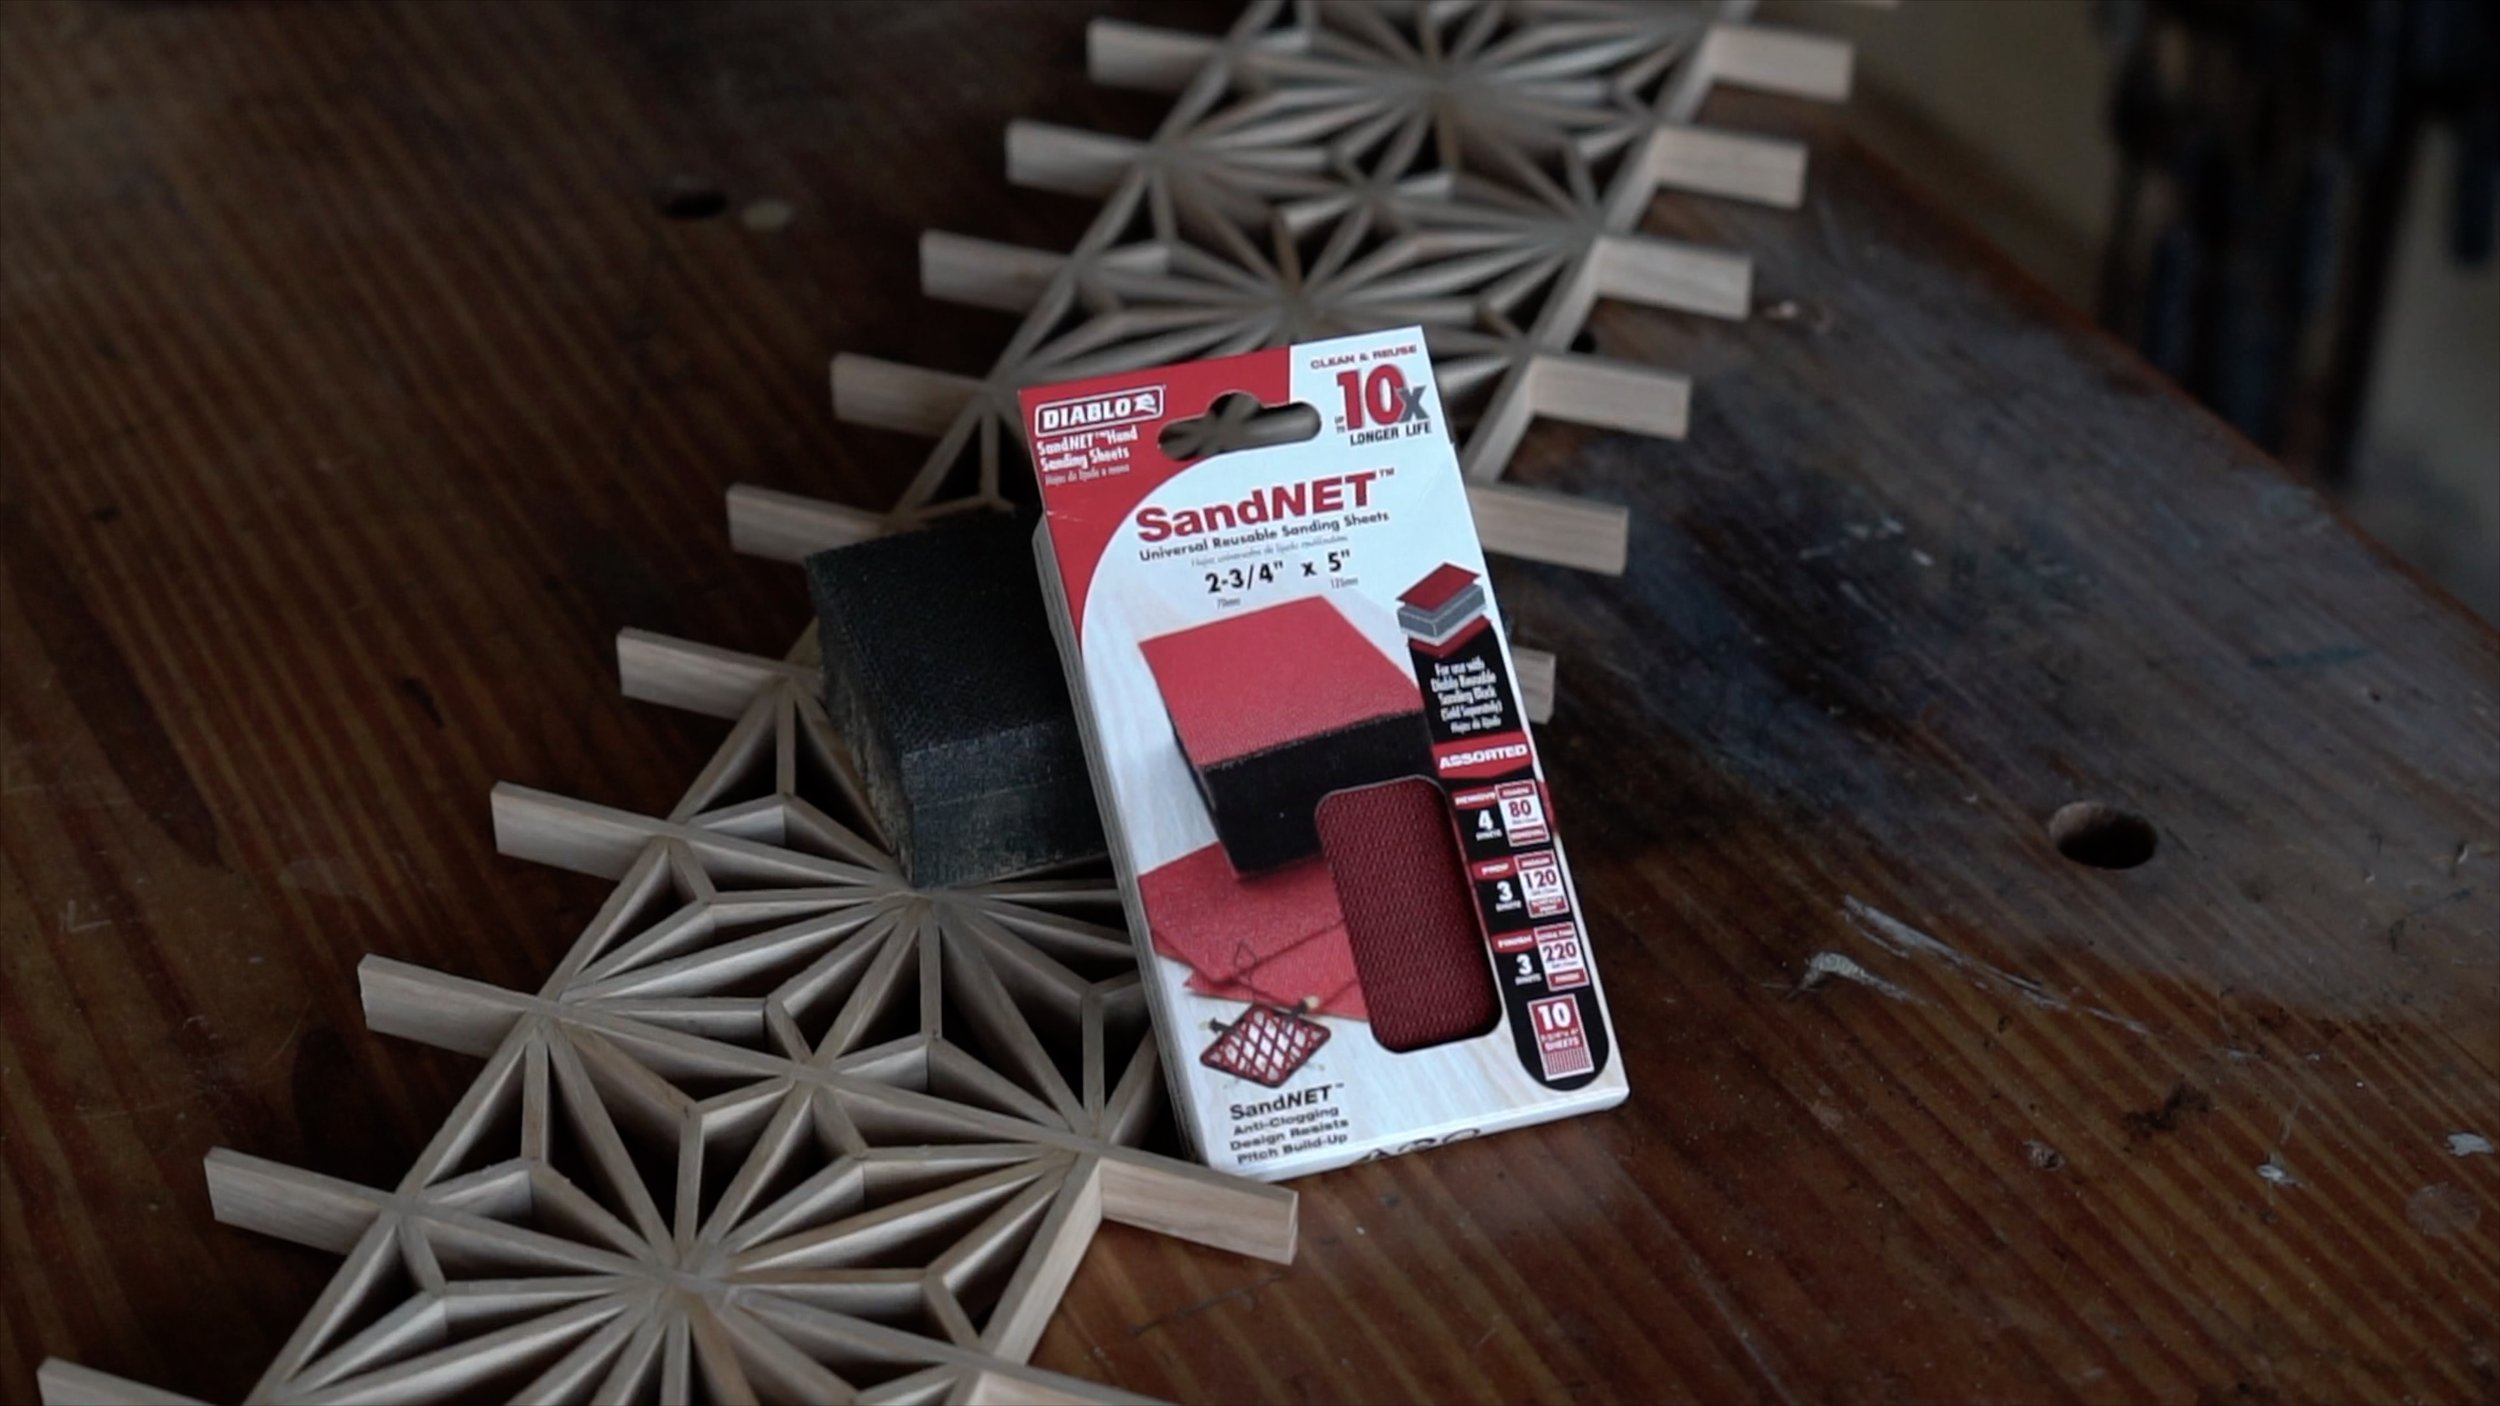
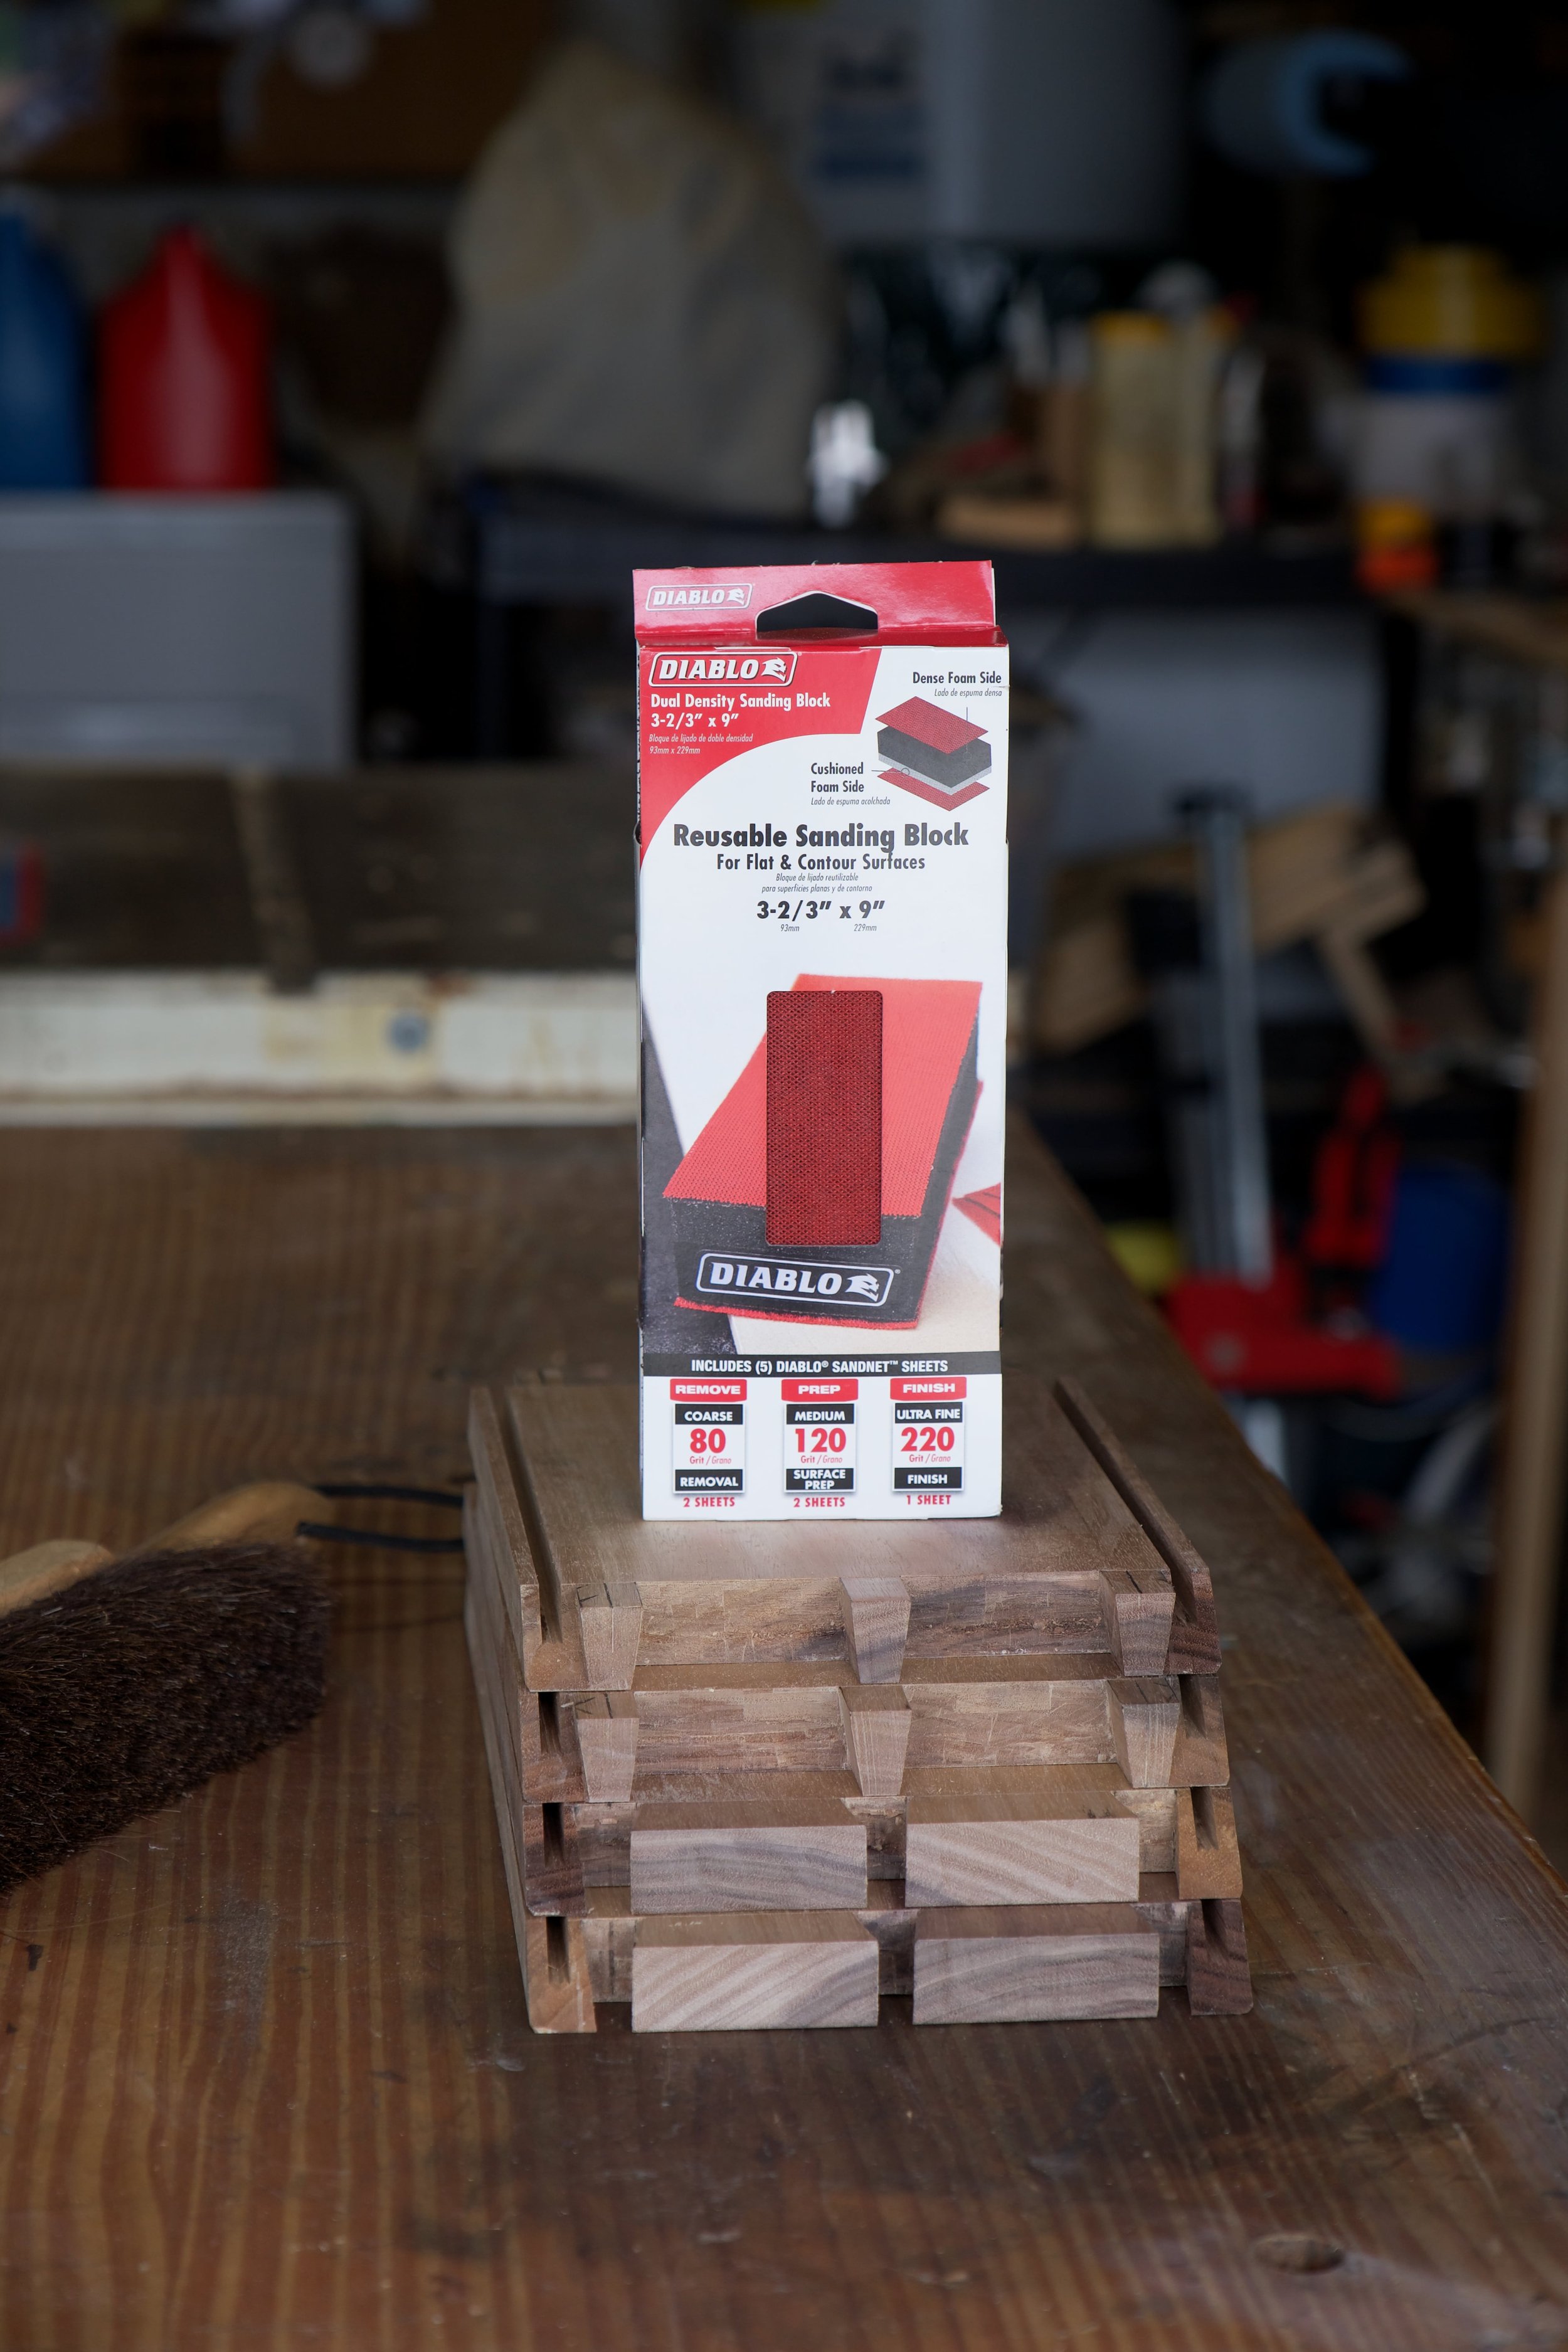
Diablo Tools SandNet Replaceable Sheets

The first thing needed was to get my final commission piece out the door. I completed a pretty epic vanity which included a monster kumiko panel which in filled the apron. The build took me the better part of two months, with a couple intervening tropical storm/hurricanes along the way. At one point, I even moved my “kumiko work space” into my dining room and was paring down components at my dining table while the world stormed away outside.

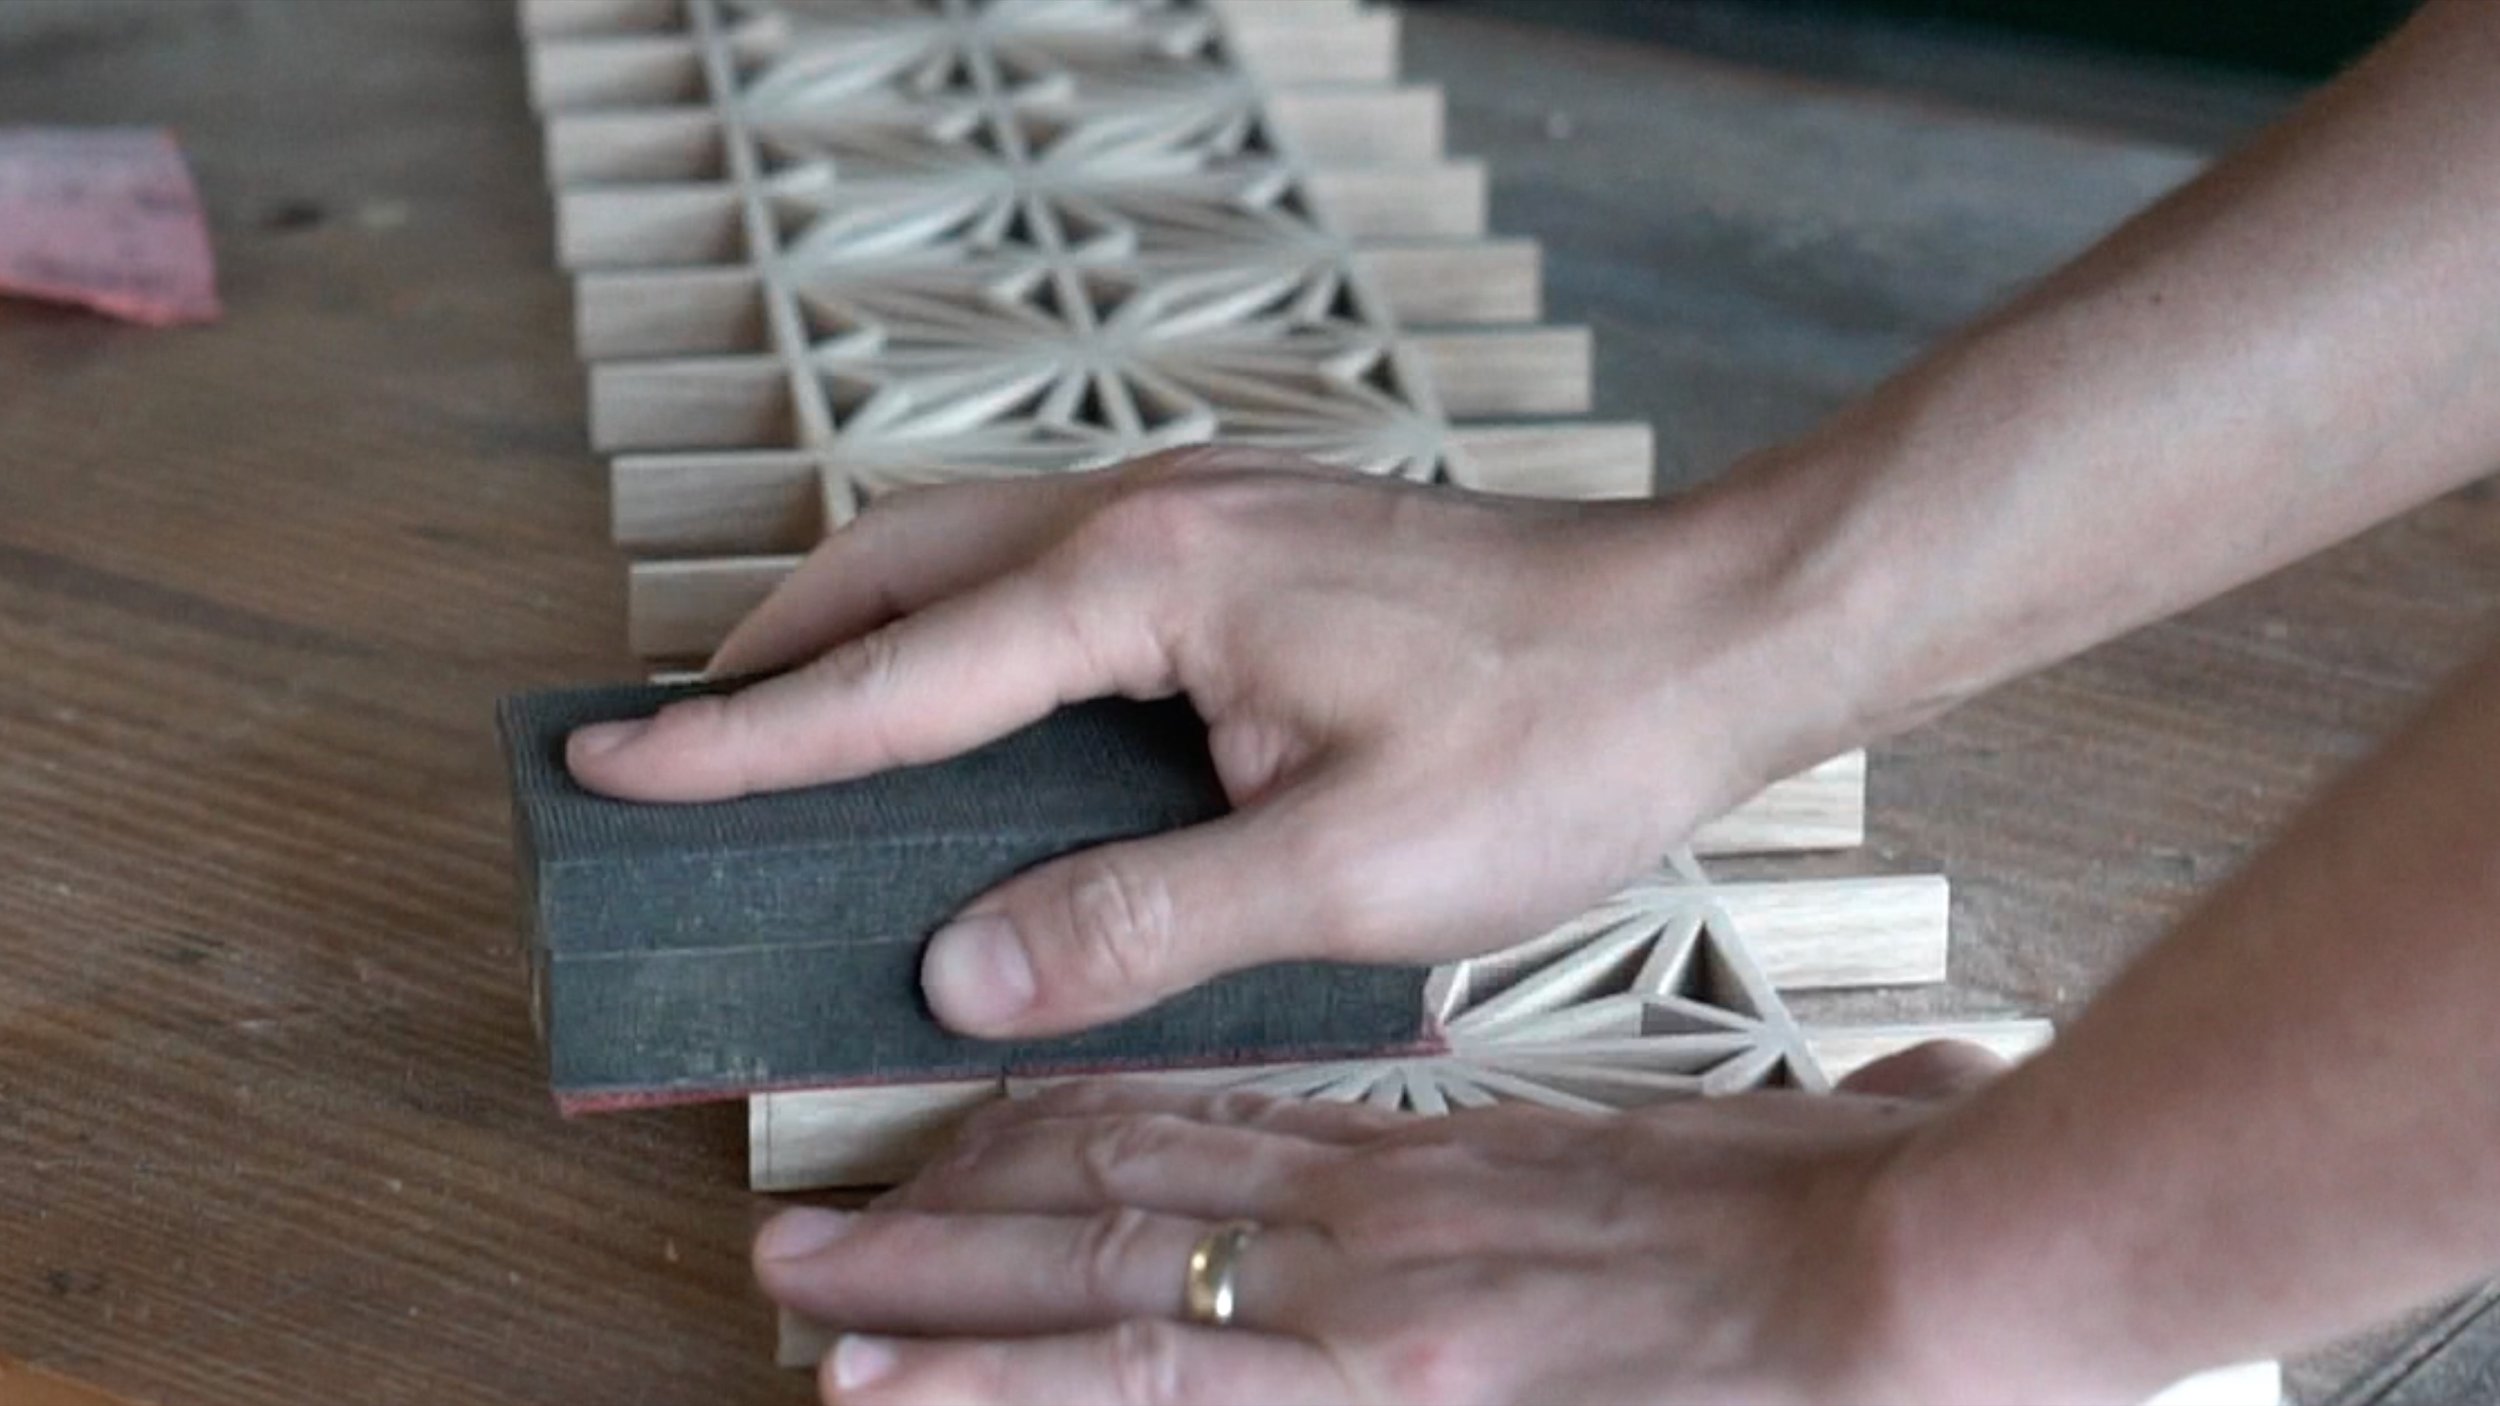
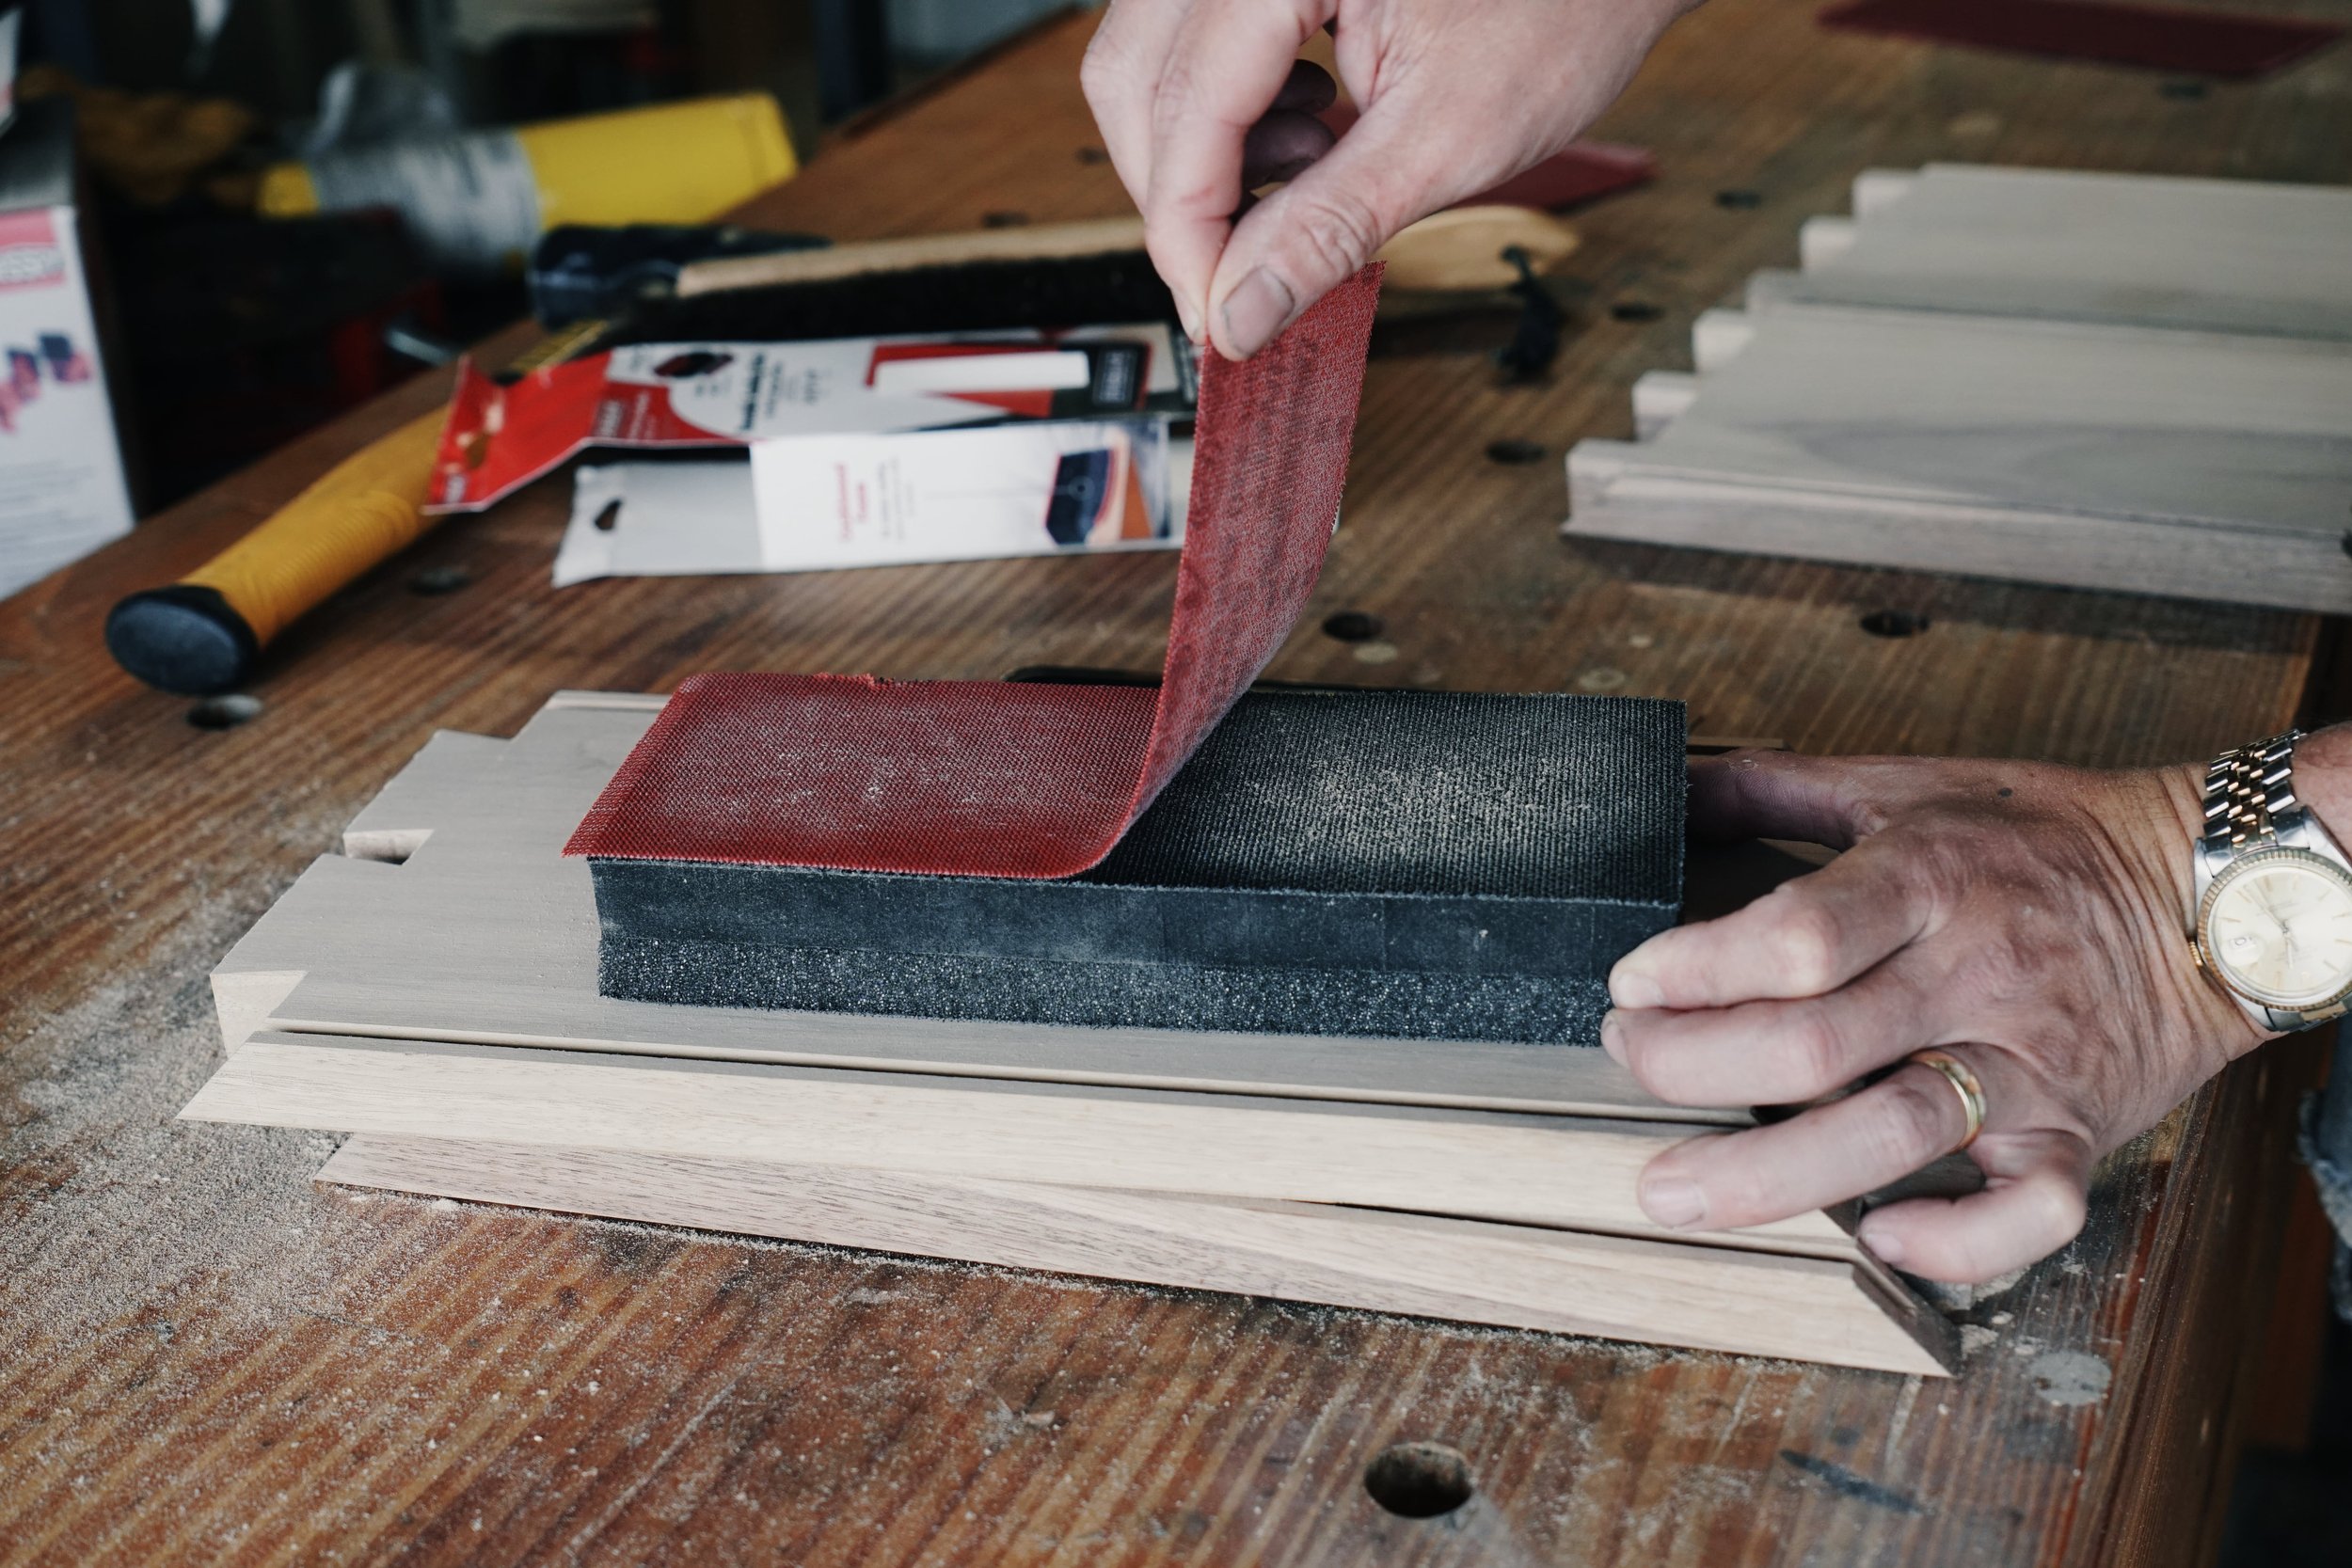
Diablo SandNet in action

However, as part of my role with the Home Depot PROspective, I opted to utilize two varying products to make this build a reality. For starters, SandNet Sandpaper (https://homedepot.sjv.io/c/2589535/1468023/8154), which while I’m not a fan of SandNet with my power sanders, I am a huge fan of using it for hand sanding applications. The block is highly functional, with a hard and soft side that can provide a flat true reference or knock down edges and work curves. I’m not a huge fan of sandpaper in general in my work. My aim is to always get the job done with a sheared surface. But ultimately, sandpaper does have a place in my shop and is vital in applications that are too clunky for hand planes and require a bit more simplification in execution.

Now to install the kumiko panel, I conceived a ton of different alternatives that were extremely labor intensive and frustrating. I actually also shot out a few video calls to experienced kumiko heads Miles from MakewithMiles and Johnny Tromboukis. And despite getting perfectly fine suggestions from them, I opted to utilize a rabbeting bit and rabbet the panel in from the back. Since the vanity was in a nook, there was no possibility of someone catching an angle to be able to see the rabbet from the side, so it was the path of least resistance as far as I was concerned. The rabbeting bit I utilized was again from Diablo Tools (https://homedepot.sjv.io/c/2589535/1468024/8154) and what I was a huge fan of was the fact that they make this adjustable rabbeting bit so that you can vary the width of the rabbet simply by changing the bearing.

Diablo 1/2” multi-rabbet kit

This was such an awesome concept for me because it turns one router bit into six. And most of all, the ease of use is exceptional. By simply using an allen key to swap the bearing out, you can create a varying width and the finish off the carbide itself is exceptional. While it still leaves a rounded inside corner, that can easily be knocked off with a chisel.

Replacing the bearing on the 1/2” multi-rabbet bit

Check out the full video on the vanity build here…

Now for my last trick, I’ll use a dovetail router bit without a router table to create a sliding dovetail. Well okay, this one wasn’t nearly as simple as expected. The 1/3 in. x 1/2 in. Dovetail bit from Diablo with the quarter inch shank (https://homedepot.sjv.io/c/2589535/1468025/8154) is an extremely impressive tool, but let’s just say using this in a trim router without proper setup did leave some inconsistencies. For this tool I utilized the sliding dovetail for a saw and plane till for my Japanese saws and planes. The saws hang from the top while the planes rest on a 45 degree bevel that catches between the back of the blade and the body. A simple, time tested design.

Diablo Dovetail Bit

The bit itself is a fairly standard dovetail angle at 14 degrees and since there isn’t a bearing guide (which is not unusual for dovetail bits) you can use this in a router table, with extreme success and consistency, or you can use it in the way I did, with a trim router edge guide, and varying make shift fences, to achieve your desired result. Just be forewarned that if you use it in the way that I did, you’ll require a double and triple check during setup to ensure accuracy. I had a number of issues keeping my varying boards clamped securely enough so at the end of the day, I landed on a 50% success rate. Using a router table would ensure 100% success.

Diablo Dovetail Bit in Trim Router with Edge Guide

As with all Diablo router bit products, the finish quality off the tool is exceptional.

Final Image of sliding dovetail cut with Diablo Dovetail Bit

Check out the full video on the build here…

Let’s get to a pretty crazy announcement though. I sold my table saw! If you’re actively watching, you know that I’ve been using a Jet 3 hp cabinet saw for a number of years. However, as my work has shifted slowly to more of a hand tool focused product, and in the past three years taken an extra turn with Japanese woodworking tools an attempts at more traditional Japanese woodwork, it occurred to me that the cabinet saw with an 84” fence might not be so useful. I’ll be replacing the tool with a 15” bandsaw which means a ton in terms of what I’ll be able to do with re-sawing, curvature, and rough cutting tenons. I’ve also added a Festool MFT table for when I need extra accurate cross cuts. Stay tuned to see what this new shop shift is going to look like in 2023 and thanks for keeping abreast of all things Cow Dog!