
The first Monday of 2023… wow. What a whirlwind 2022 was. From teaching at WorkbenchCon to Maker Camp, collaborations with Bart Komar, Anne (of all Trades) Briggs, and Sam (DIYHuntress) Raimondi, it genuinely felt like I was on the road at least one weekend a month for the entirety of the year. Therefore, starting in November, I really took time to stay home, stay grounded, and start focusing on preparing my shop for 2023.
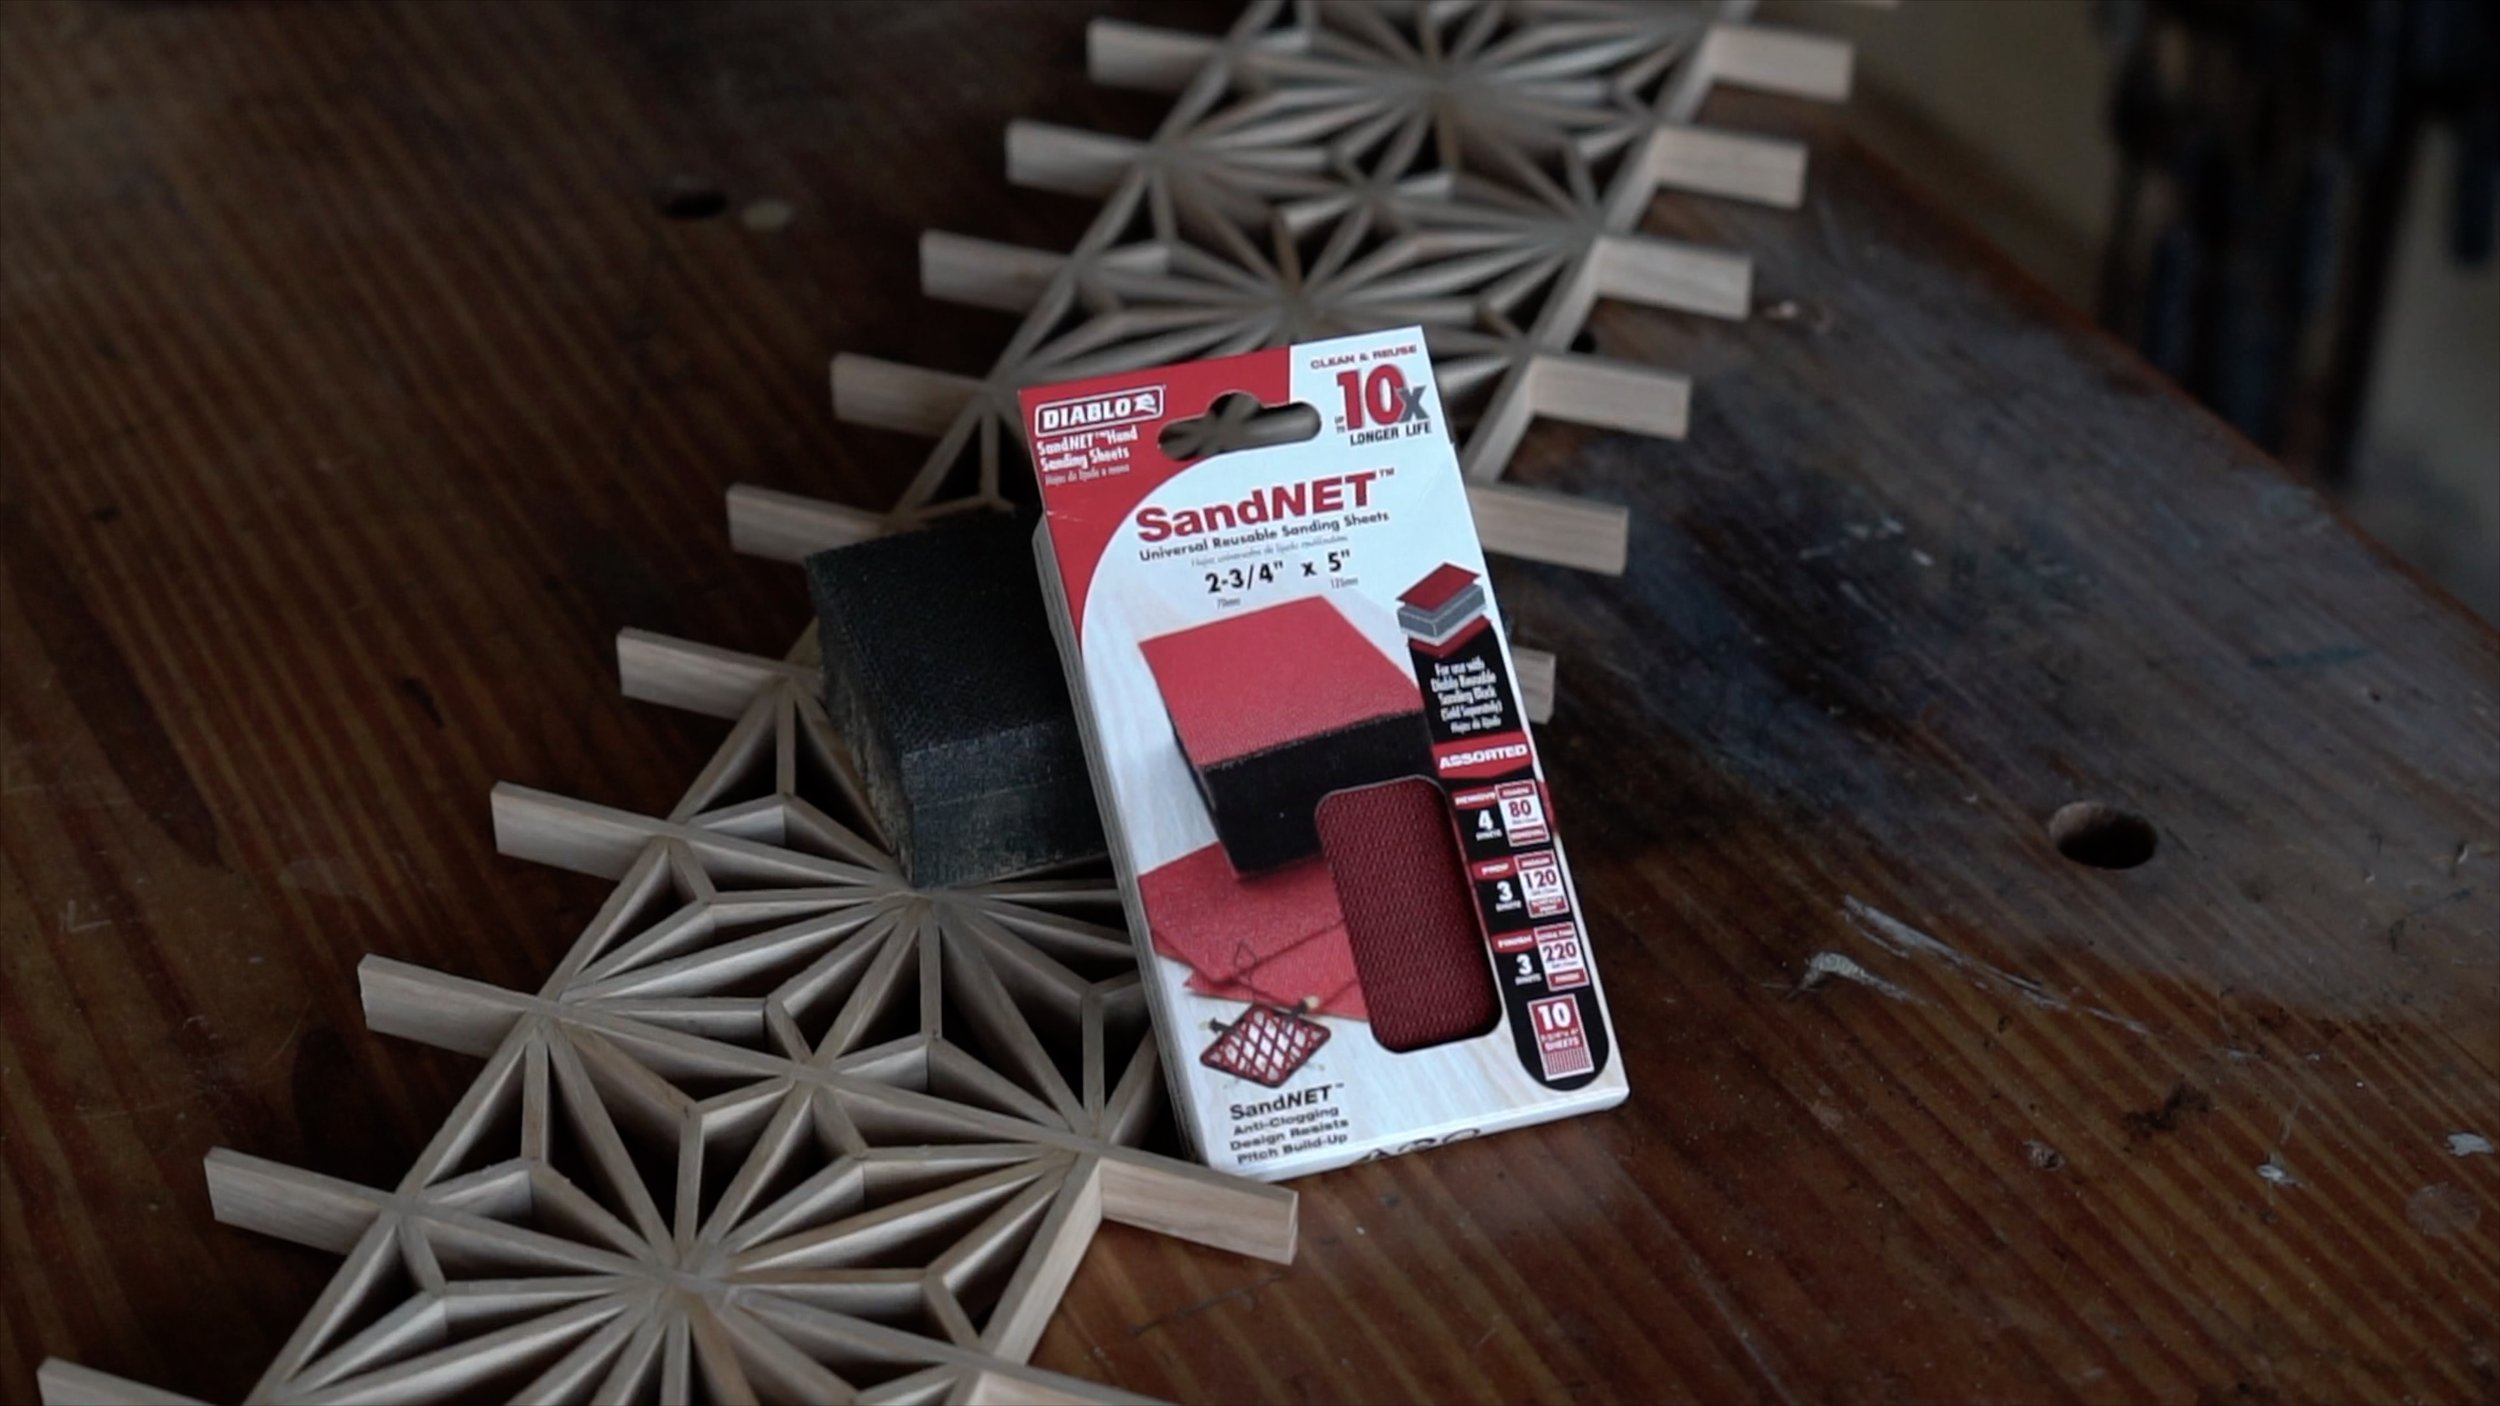
Diablo Tools SandNet Replaceable Sheets
The first thing needed was to get my final commission piece out the door. I completed a pretty epic vanity which included a monster kumiko panel which in filled the apron. The build took me the better part of two months, with a couple intervening tropical storm/hurricanes along the way. At one point, I even moved my “kumiko work space” into my dining room and was paring down components at my dining table while the world stormed away outside.
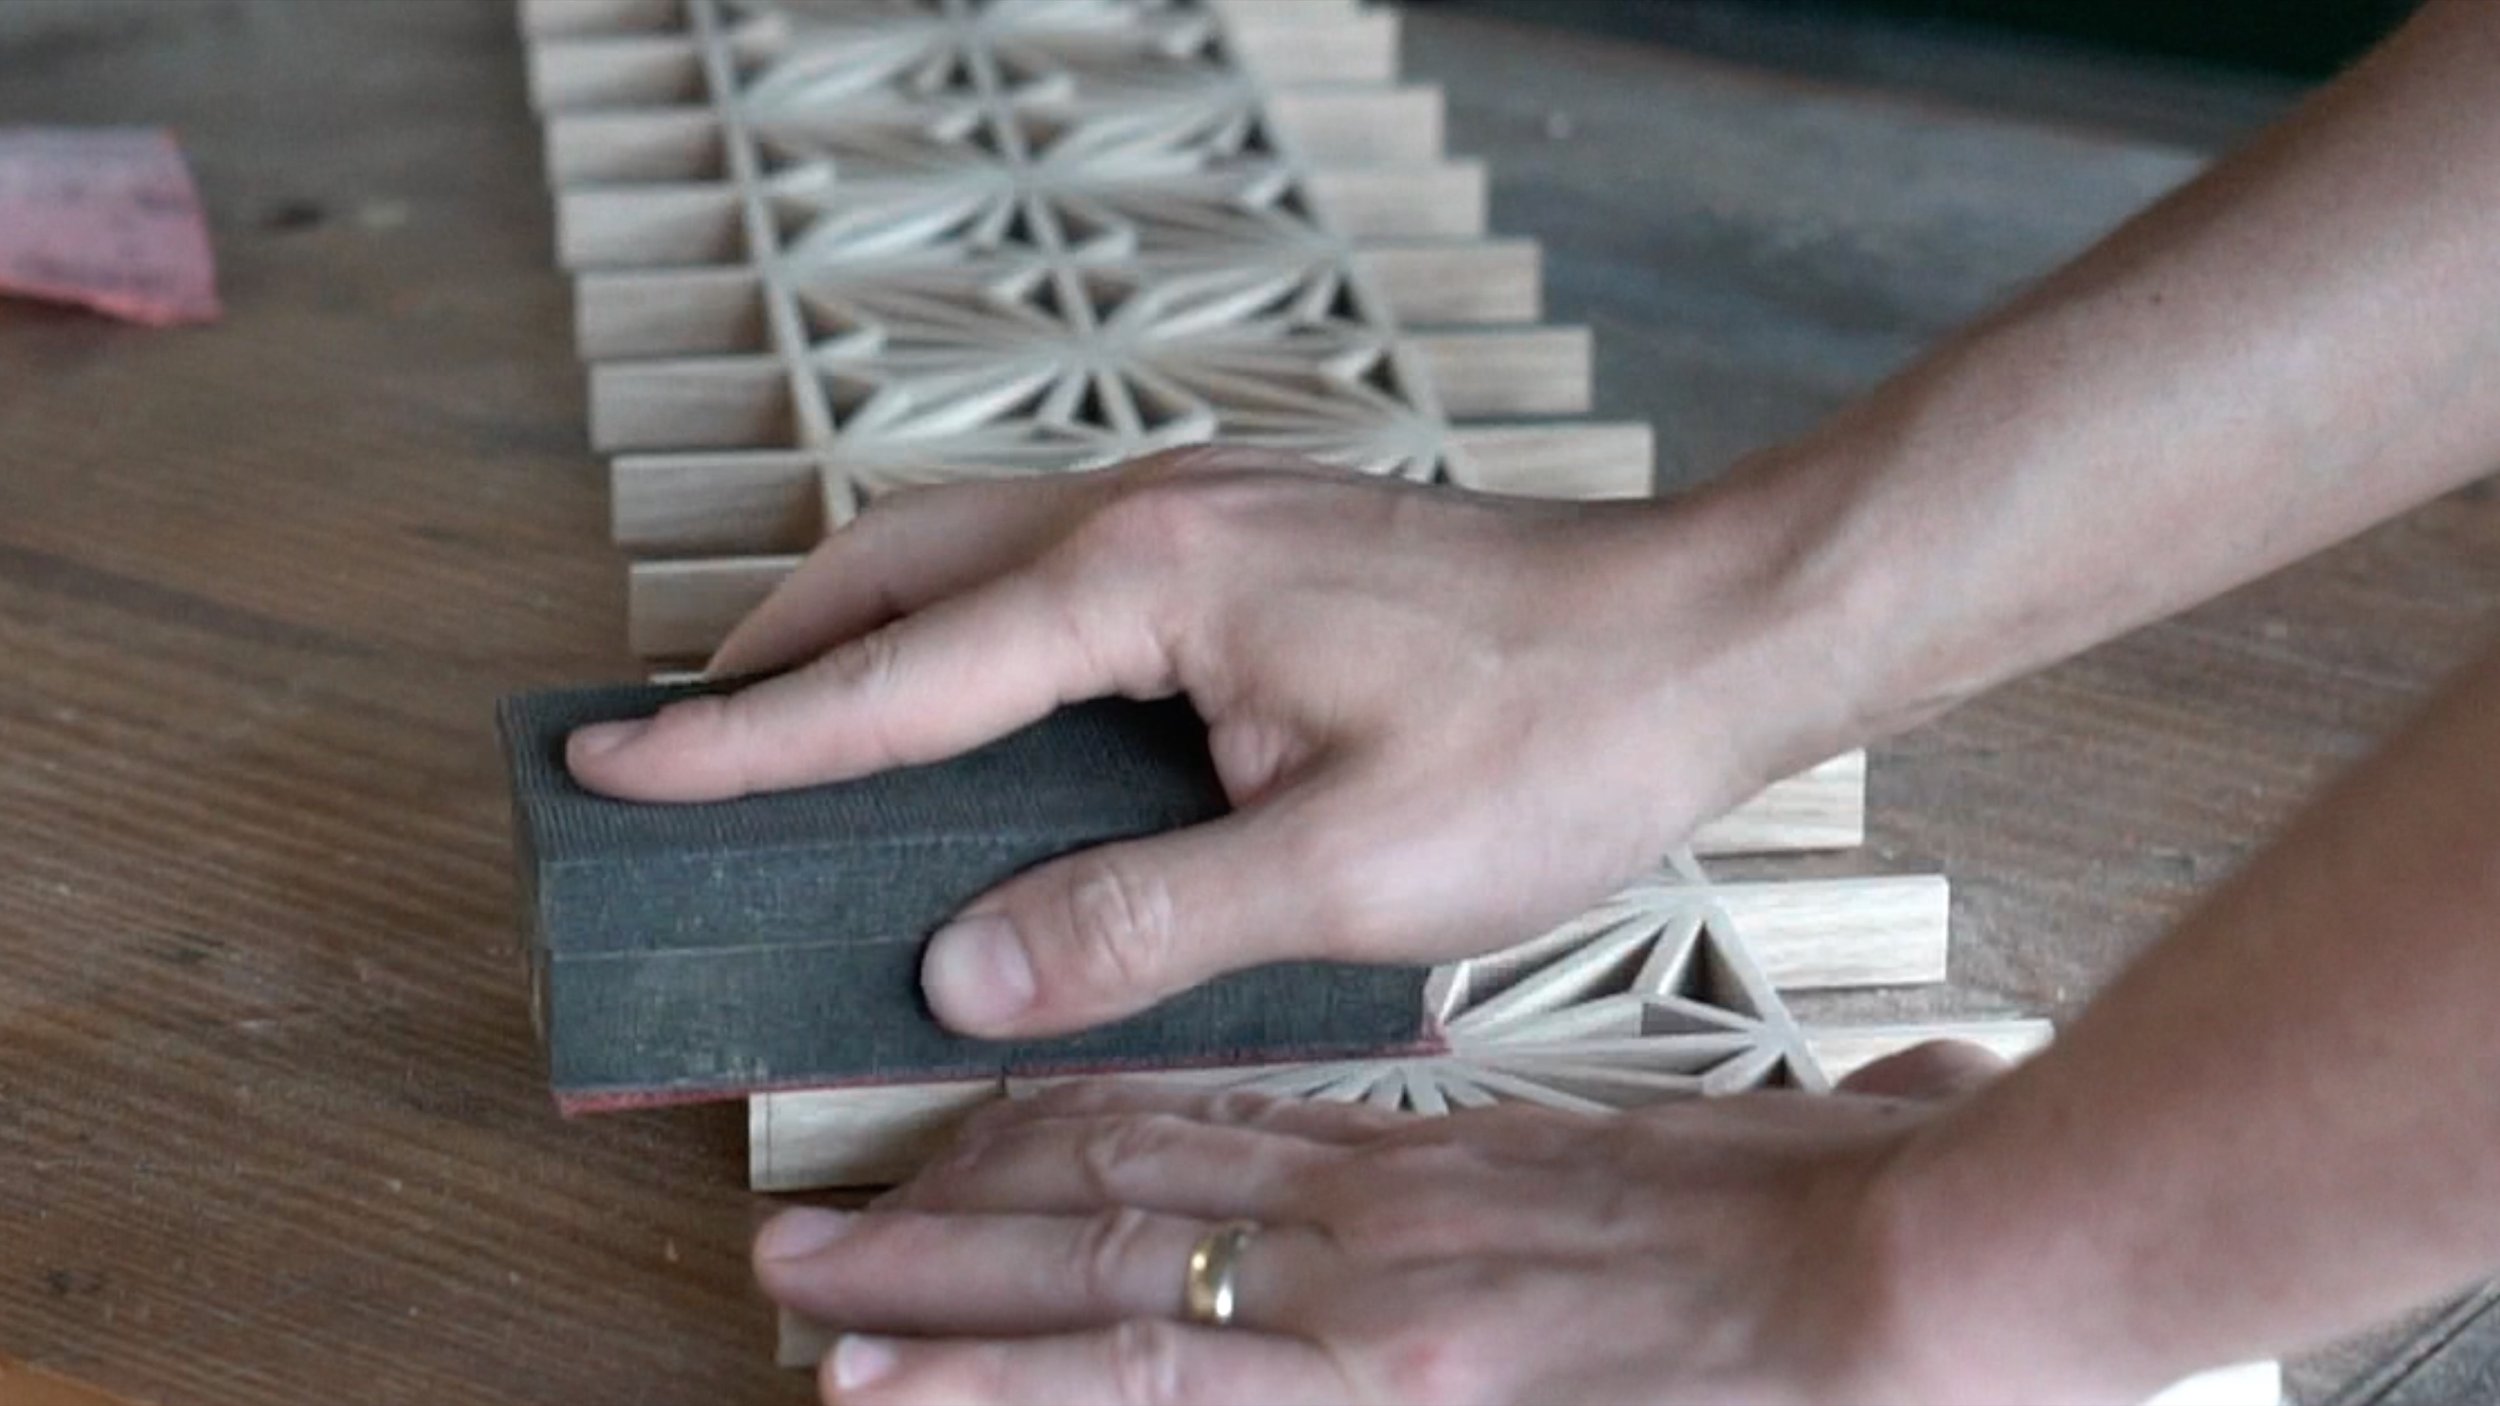
Diablo SandNet in action
However, as part of my role with the Home Depot PROspective, I opted to utilize two varying products to make this build a reality. For starters, SandNet Sandpaper (https://homedepot.sjv.io/c/2589535/1468023/8154), which while I’m not a fan of SandNet with my power sanders, I am a huge fan of using it for hand sanding applications. The block is highly functional, with a hard and soft side that can provide a flat true reference or knock down edges and work curves. I’m not a huge fan of sandpaper in general in my work. My aim is to always get the job done with a sheared surface. But ultimately, sandpaper does have a place in my shop and is vital in applications that are too clunky for hand planes and require a bit more simplification in execution.
Now to install the kumiko panel, I conceived a ton of different alternatives that were extremely labor intensive and frustrating. I actually also shot out a few video calls to experienced kumiko heads Miles from MakewithMiles and Johnny Tromboukis. And despite getting perfectly fine suggestions from them, I opted to utilize a rabbeting bit and rabbet the panel in from the back. Since the vanity was in a nook, there was no possibility of someone catching an angle to be able to see the rabbet from the side, so it was the path of least resistance as far as I was concerned. The rabbeting bit I utilized was again from Diablo Tools (https://homedepot.sjv.io/c/2589535/1468024/8154) and what I was a huge fan of was the fact that they make this adjustable rabbeting bit so that you can vary the width of the rabbet simply by changing the bearing.

Diablo 1/2” multi-rabbet kit
This was such an awesome concept for me because it turns one router bit into six. And most of all, the ease of use is exceptional. By simply using an allen key to swap the bearing out, you can create a varying width and the finish off the carbide itself is exceptional. While it still leaves a rounded inside corner, that can easily be knocked off with a chisel.

Replacing the bearing on the 1/2” multi-rabbet bit
Check out the full video on the vanity build here…
Now for my last trick, I’ll use a dovetail router bit without a router table to create a sliding dovetail. Well okay, this one wasn’t nearly as simple as expected. The 1/3 in. x 1/2 in. Dovetail bit from Diablo with the quarter inch shank (https://homedepot.sjv.io/c/2589535/1468025/8154) is an extremely impressive tool, but let’s just say using this in a trim router without proper setup did leave some inconsistencies. For this tool I utilized the sliding dovetail for a saw and plane till for my Japanese saws and planes. The saws hang from the top while the planes rest on a 45 degree bevel that catches between the back of the blade and the body. A simple, time tested design.

Diablo Dovetail Bit
The bit itself is a fairly standard dovetail angle at 14 degrees and since there isn’t a bearing guide (which is not unusual for dovetail bits) you can use this in a router table, with extreme success and consistency, or you can use it in the way I did, with a trim router edge guide, and varying make shift fences, to achieve your desired result. Just be forewarned that if you use it in the way that I did, you’ll require a double and triple check during setup to ensure accuracy. I had a number of issues keeping my varying boards clamped securely enough so at the end of the day, I landed on a 50% success rate. Using a router table would ensure 100% success.

Diablo Dovetail Bit in Trim Router with Edge Guide
As with all Diablo router bit products, the finish quality off the tool is exceptional.

Final Image of sliding dovetail cut with Diablo Dovetail Bit
Check out the full video on the build here…
Let’s get to a pretty crazy announcement though. I sold my table saw! If you’re actively watching, you know that I’ve been using a Jet 3 hp cabinet saw for a number of years. However, as my work has shifted slowly to more of a hand tool focused product, and in the past three years taken an extra turn with Japanese woodworking tools an attempts at more traditional Japanese woodwork, it occurred to me that the cabinet saw with an 84” fence might not be so useful. I’ll be replacing the tool with a 15” bandsaw which means a ton in terms of what I’ll be able to do with re-sawing, curvature, and rough cutting tenons. I’ve also added a Festool MFT table for when I need extra accurate cross cuts. Stay tuned to see what this new shop shift is going to look like in 2023 and thanks for keeping abreast of all things Cow Dog!