I was on a podcast recently and the host indicated that I hadn’t posted a blog entry on my website in over a year. It was quite the wake up call at how much I’ve been neglecting this side of my business, something that I really should be paying far more attention to. This should be the hub of my work and my brand, and much like dental floss for the vast majority of the world’s population, it’s usefulness, benefit, and practice was ignored.
However, a lot has gone on since I was last on here. Shortly after promising to re-vamp my blog posting last year, we found out that my wife was pregnant. I closed out all commission work and eliminated the back log in honey-do projects as well as custom work I had outstanding. Amidst all that, I was still able to put out a few YouTube videos last year and in October, our baby girl Rowan was born. She’s been a fun and beautiful addition to our family.
After releasing a video early this year about a built-in library I did for my father-in-law, I had decided to sack up and finally create a video on the Japanese hand plane: kanna. Kanna simply means plane in Japanese and being able to provide an instructive, step-by-step tutorial on this was not only intimidating, but really for me, signified a coming full circle and an achievement in my Japanese tool journey.
Let me tell you why…

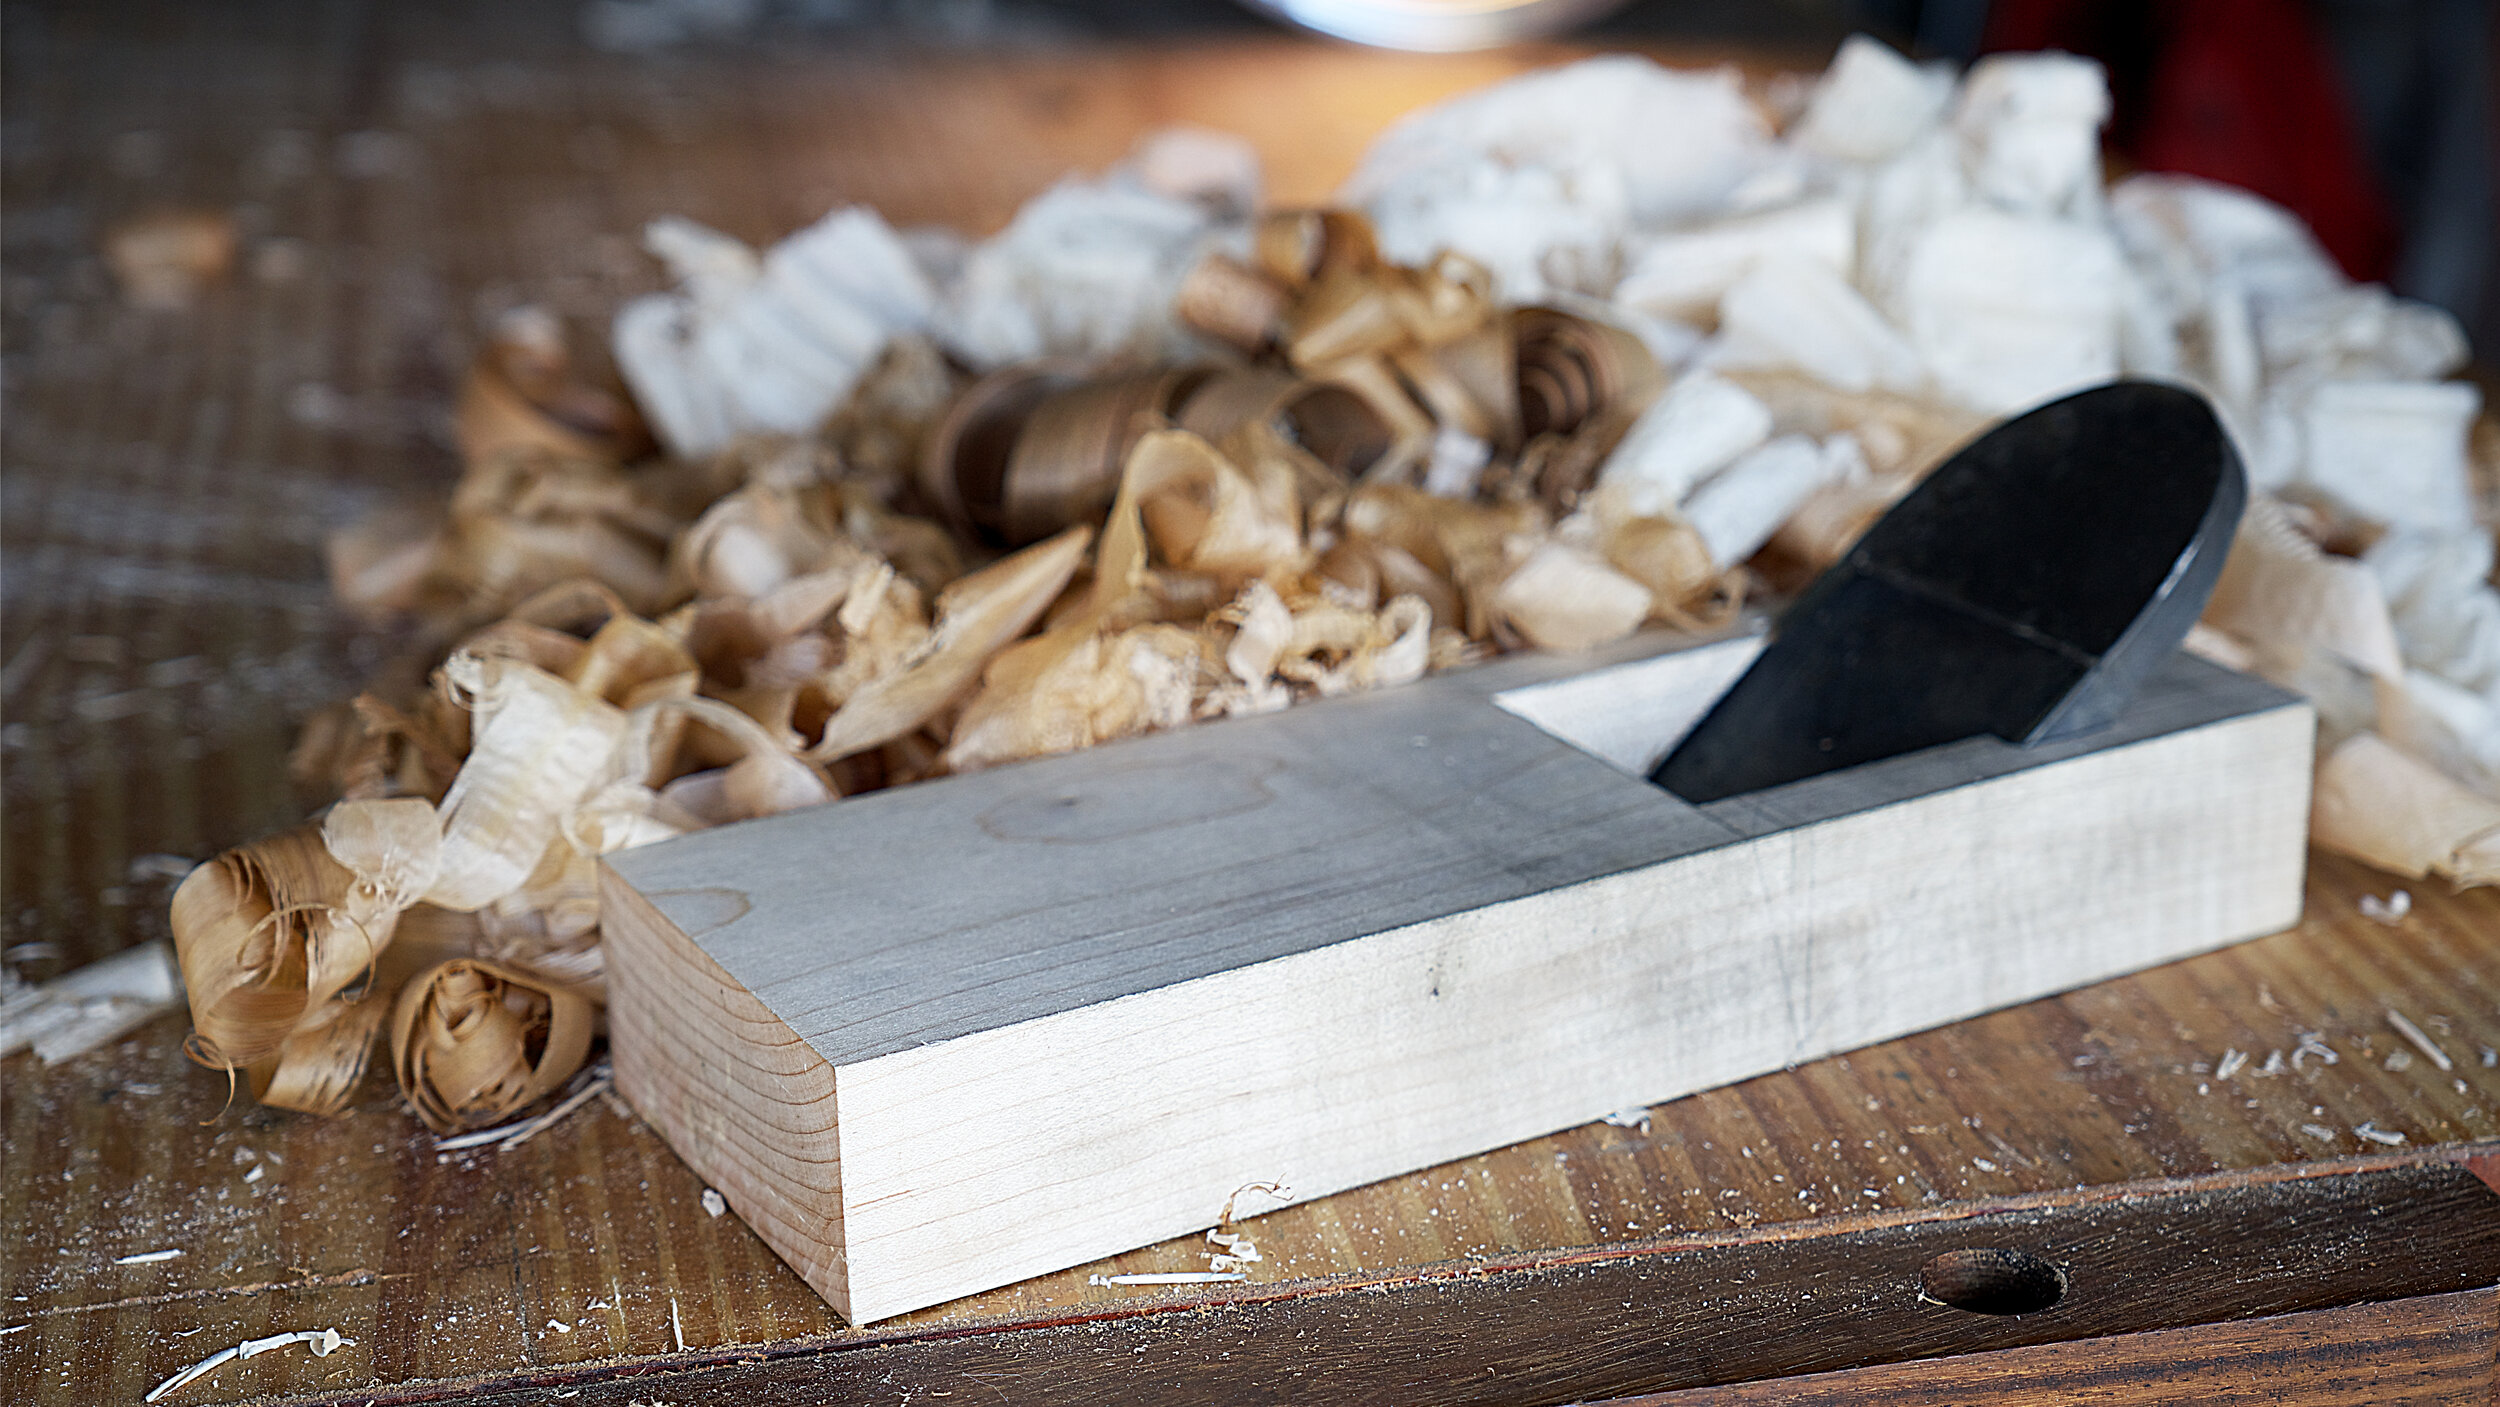
Nagadai Kanna in American white oak.
I first got into Japanese tools during the pandemic. While I had some Japanese chisels, it was virtual schooling through the Florida School of Woodwork, classes led by Dylan Iwakuni, that taught me the concepts of center line layout, order of operations in joinery, and gave me the basic skills to tackle any joint regardless of complication. Sure there’s an element of speed and skill that needed to continue to be fostered, but the very basic foundations were laid and an addiction began to take hold.
After seeing Dylan effortlessly paring away and creating glossy smooth end grain shoulders, I needed to know where he got his chisel from. To my surprise, he said that he got his chisel from an American blacksmith and carpenter, Jim Blauvelt. I immediately reached out to Jim and purchased a paring chisel, that he also called a dai makers slick. He had to still forge a ferrule for the chisel, so it would take some time to get to me.
Well, I was patient, and indeed, it did take some time. Somewhere around six to eight months after I ordered and paid for the chisel, he asked for my address so he could ship it out to me. Because of my patience, he offered to send me out a plane blade. I’d never used a Japanese plane before and other than watching viral Kezurokai videos from Japan, had never really even seen one in use. I ordered Toshio Odate’s book on Japanese Woodworking tools, got to studying, and the box arrived shortly thereafter.
Admittedly, I didn’t study that hard because once I got the handle set up on the chisel, I got to cracking on making a dai for this blade. I’d never tapped out a blade before, so I opted to flatten the back on float glass and pressure sensitive adhesive (PSA) lapping film. I’d never sharpened without a jig before, so I sharpened this blade until my finger pads wore through from touching the stones. I used a block of soft maple that was given to me by a local friend and I hacked this thing apart with mortising chisels until I had the basics of a dai. And you know what? I skipped the part in Odate about tuning the bottom, and I was pulling shavings with it in western red cedar.

Uradashi or “tapping out”. Displacing the laminated iron to alter the shape of the hard steel hagane beneath.
The plane itself, while haphazardly made, and barely functional, still kind of worked. And the surface it left was incredible, even at my complete lack of skill level.
That sparked a relationship with a tool dealer who gets the best treasures from Japan. I also purchased a V1 blade from Andrew Ren of which I also cut a dai for, and did much more skillfully. I purchased and set up dai through Suzuki Tool. I started performing uradashi on my blades. I got quality water stones and learned the importance of flatness in my stones. And then, with a number of basic reps took an in-person class at the Florida School of Woodwork with Andrew Hunter. Andrew’s class was excellent for someone like me trying to level up from mediocre-poor to passable. I continued to take more Zoom classes through Kez-USA, learning from David Wood and continued to improve my own skill set through practice and repetition. I’ve now read Dale Brotherton’s book, “Sharpening and the Japanese Hand Plane in Depth” at least a dozen times and I still learn something new every time I read it.

Using kanaban to check for blade flatness.
All of this culminated last year at the Maine Japanese Woodworking Festival. It was my first in person Japanese woodworking event. I sharpened and pulled shavings all weekend. I really did little else. I wanted to see if I could elevate what I was doing and although there was a planing competition on the schedule, I was unsure if I would compete. I watched Andrew Ren use his own V1 in an Osage Orange dai that he had cut pull what I could only deduce were probably 7-10 micron shavings with ease. I had the opportunity to hold his plane, look at his settings, and even take a couple pulls myself. Even using his own plane that he set up, I still found that my shaving quality wasn’t nearly as good as his just due to his skill set. Jude Noteboom who was also present gave me a lot of tips on Kezurokai style planing technique, the Kamijo footwork, and how to set up beams for planing.
I decided I’d at least try and qualify, so after taking a few shavings and having Andrew Ren measure them with the micrometer, he walked me over to another beam and asked me to take another shaving. I backed the setting out a little finer and pulled a shaving that was somewhere just north of 20 microns.
“Try softer pressure.” He said.
I looked at the translucent full length and full width shaving that was coming from the throat of my blade.
“That’s a good one.” He said.
The micrometer pinched down on the shaving.
“14 microns.” He smiled.
I grinned so hard my face almost cracked. Number one qualifier for the finals.

Checking the mating surfaces between the kanna blade and the uragane.
I didn’t win the whole thing, and that’s okay. My eyes were opened to what was possible and what I could possibly achieve through diligence, practice, and patience.
This video, at this point in my Japanese woodworking tool journey, is the culmination of all my education and experience. From someone who built a shit plane out of wood that doesn’t even grip the blade correctly, to someone who can regularly set up a plane with a minimum amount of screaming and cussing. This video, has been one of the most requested by my small but dedicated audience and I’m happy and proud to provide it.

The chatoyance of a kanna finish on mahogany.
Filming this video was not easy. I tried to talk through in real time a lot of the steps. For some reason I got hooked on the term “overcooked” and said it about four times in thirty seconds at one point. The work is time consuming, so certain sections have to be sped up to be able to show how long some of these processes take, but make it tolerable to watch. I used “thought bubbles” to try and convey certain ideas and concepts after the fact because the subject is so deep and so nuanced that I couldn’t accurately and succinctly convey things with spoken word alone. I recorded the entire section on the uragane (chip breaker) without audio on the first go around and had to go back and record an after the fact tutorial on it. In my opinion, that section is unfortunately the biggest failure of the video. However, there’s clear dedicated chapters so that the viewer can use this is a reference material later during set up and tuning and I believe that all the major components are there, especially if one is utilizing the books suggested in the closing comments of the video.

A 42 mm Yamamoto koganna with Swedish blue steel in mahogany.
Hope you like it. Let me know if it’s something you found helpful and if there’s other things you’d like to see on the channel moving forward.